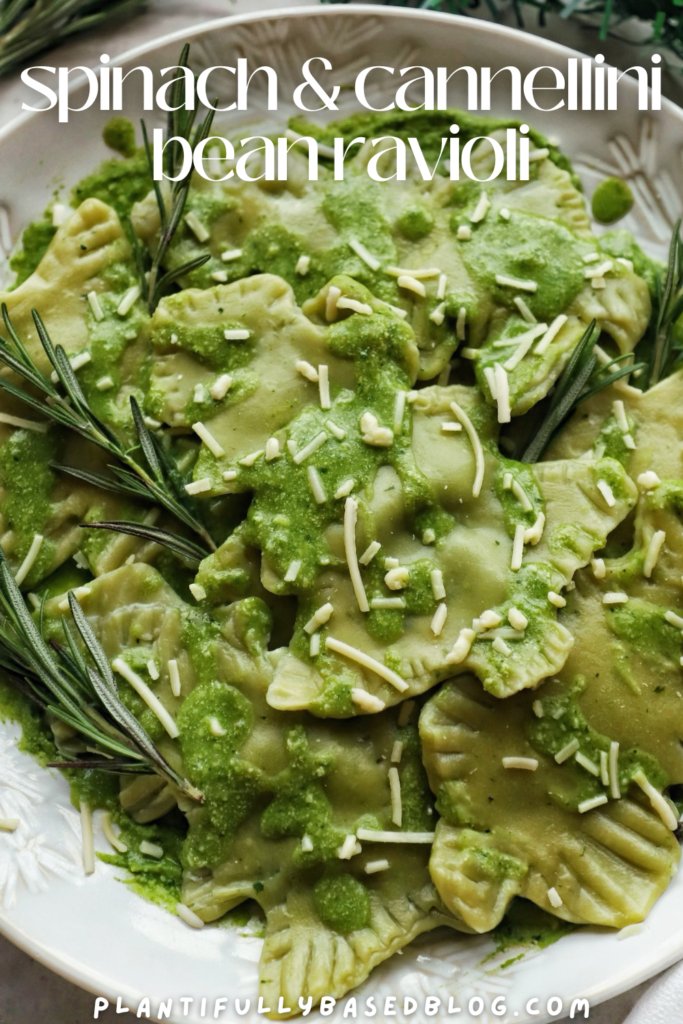
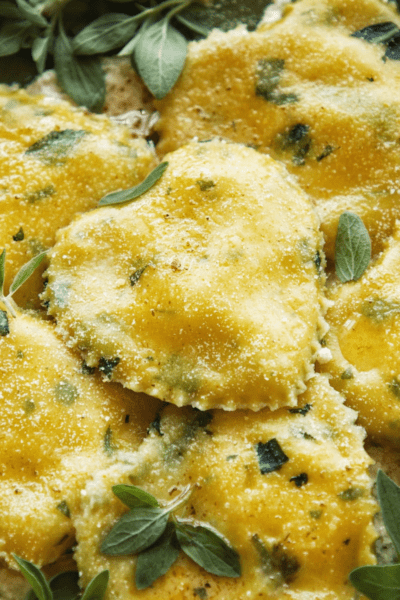
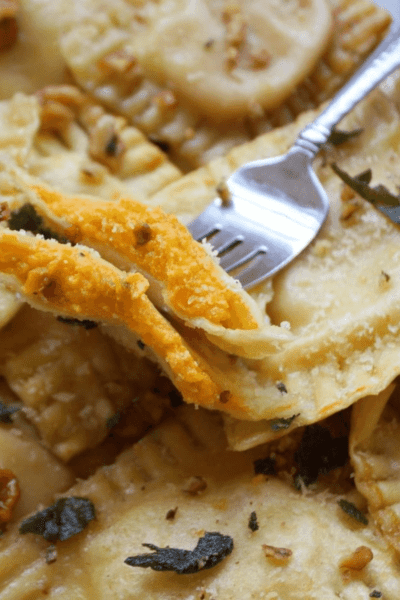
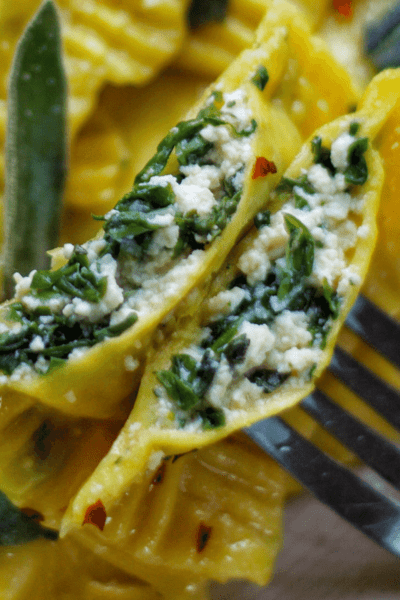
Homemade vegan spinach & cannellini bean ravioli are so delicious and full of flavor. Perfect for Christmas dinner.
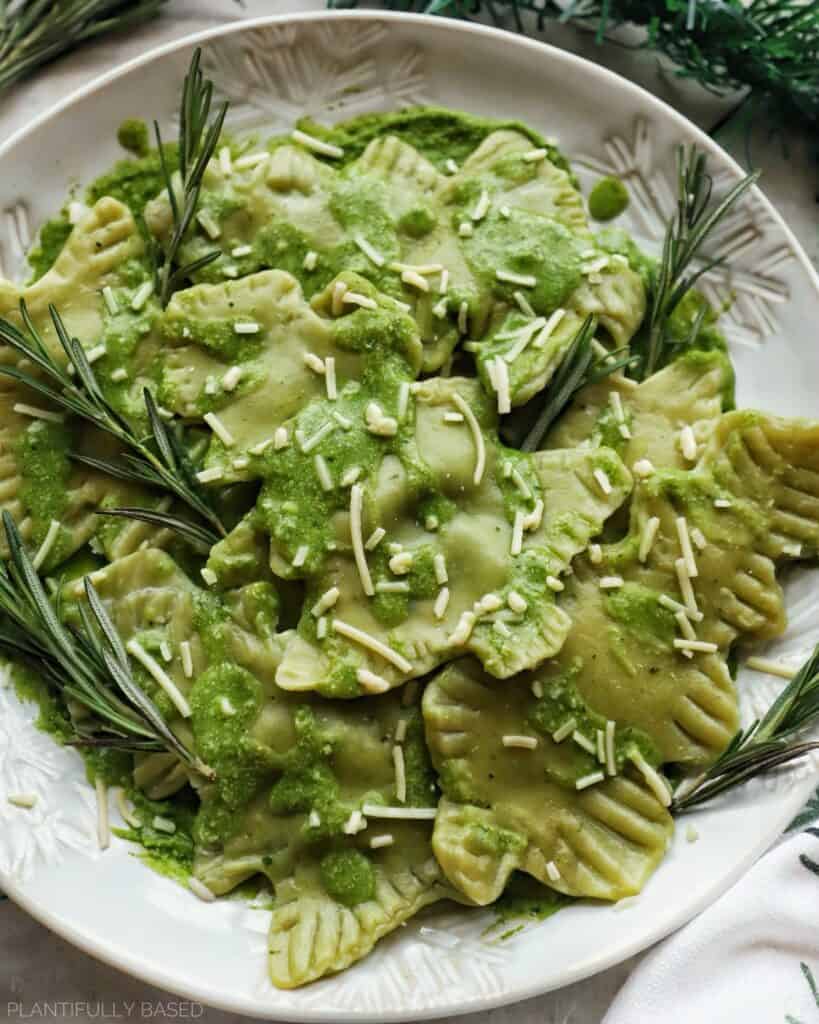
I love to make homemade ravioli. They are so special and always such a treat. These spinach & cannellini bean ravioli are full of flavor and perfect for Christmas (or any time of year). My recipe calls for two things: a rolling pin and the cookie cutter. You don’t need any fancy equipment to make these!

Why No Pasta Machine?
The simple answer: we don’t have a pasta machine. Yes, I know an Italian household with no pasta machine is a crime. But honestly, a little a elbow grease and a rolling pin can get you there. Is it more time consuming? Yes. Is it impossible? No. I feel that most people probably don’t have a pasta machine but are more likely to have a rolling pin. So, I have always made all my ravioli recipes without a pasta machine or any fancy equpiment. You don’t even need the cookie cutter either you can just make sqaures like I did here.
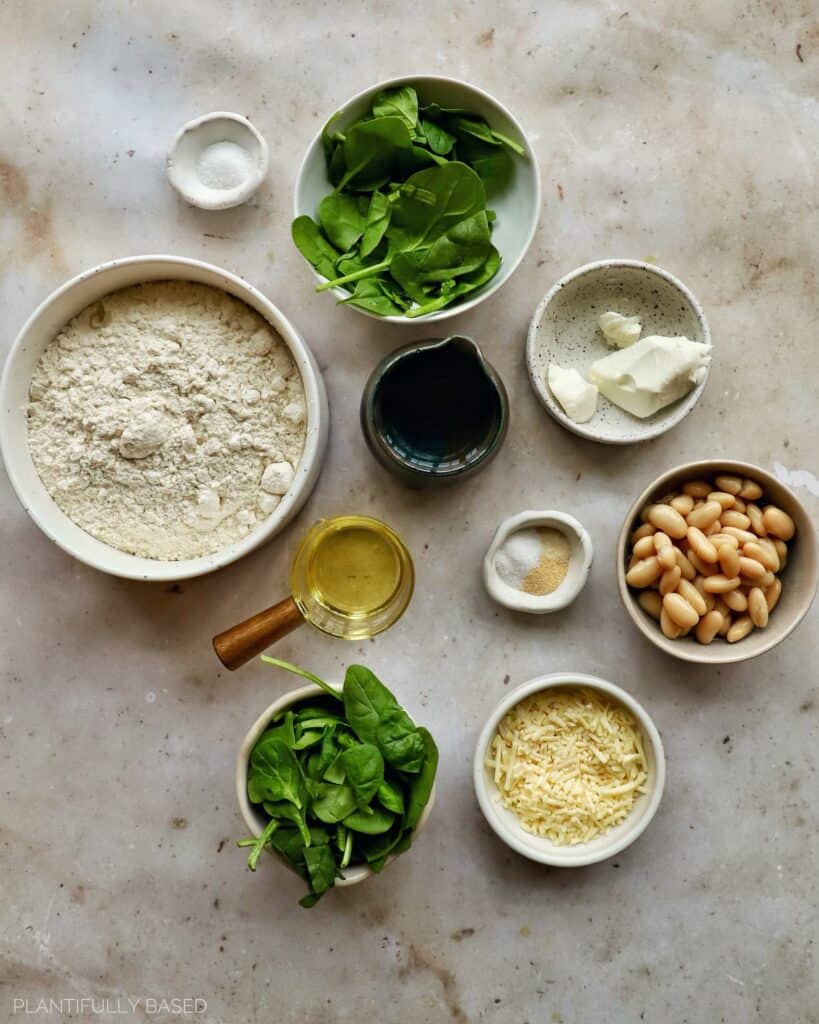
The Filling & Sauce
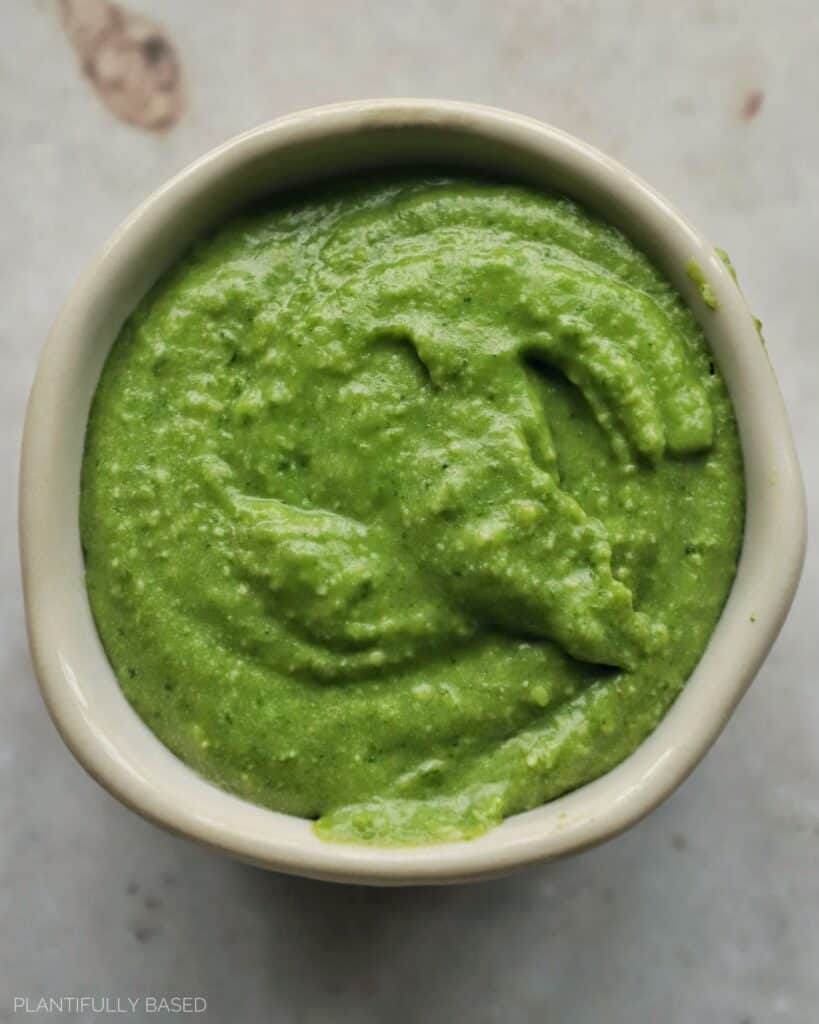
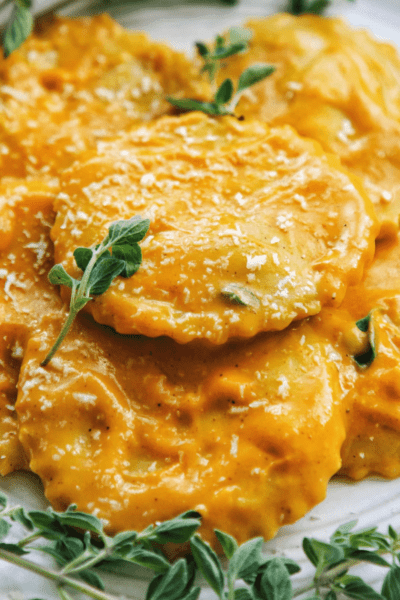
One of my favorite things to do is just take the leftover filling and use it as a sauce for your ravioli. Why? Well it is already flavorful, great way not to waste something you’ve made and no competing flavors with what is already there. I also feel that ravioli since they are a filled pasta don’t need a super heavy sauce on them. The dish should feel light. So, I prefer to spread the leftover filling onto the bottom of a serving plate and then also drizzle some thinned out filling over top.
If you feel you NEED to put a sauce on here I would recommend a thinned out pesto.
More Ravioli Recipes
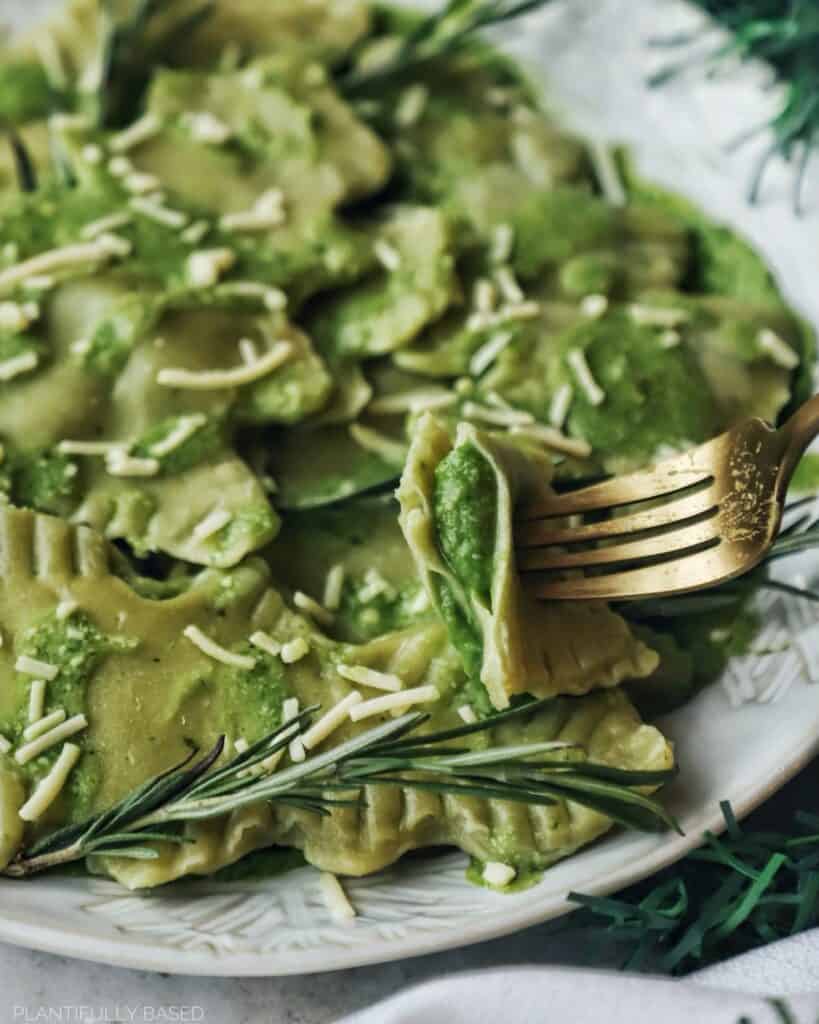
Spinach & Cannellini Bean Ravioli FAQ
- Can I freeze these? Yes, you can make them up to the step before boiling. Place them in the freezer spaced out on a lined baking sheet and let them freeze for 1 to 2 hours (until completely frozen). Then place in a storage container. When you want to eat just boil them.
- Can this be made glutne free? I haven’t tried to make gluten free ravioli yet, but you can try substituting a 1:1 gluten free all purpose flour.
- What to do with the leftover pasta dough? IN THE PAST I have told you all not to reuse the pasta dough. However, I tried to rework it and roll it back together and it did work fine. I think if you are using a pasta machine you can’t do this but if you are doing it by hand you can.
- Are these hard to make? It is less about the difficulty and more the time involved. I truly believe anyone can make these it just requires time and patience.
ORDER MY COOKBOOK
Looking for more delicious vegan comfort recipes? Order my cookbook Plantiful: Over 75 Vibrant Vegan Comfort Foods! Filled with all types of recipe from bites, breakfast, brunch, lunch, dinner, desserts and more! Available on Barnes and Noble, Amazon, IndieBound, Walmart, also available in stores.
Sharing direct links to recipes and pictures is highly encouraged, please do not copy and paste my recipes or share my pictures without permission. I work very hard on my blog and don’t want to see my recipes popping up anywhere. Thank you so much.
Spinach & Cannellini Bean Ravioli
Equipment
- Rolling Pin
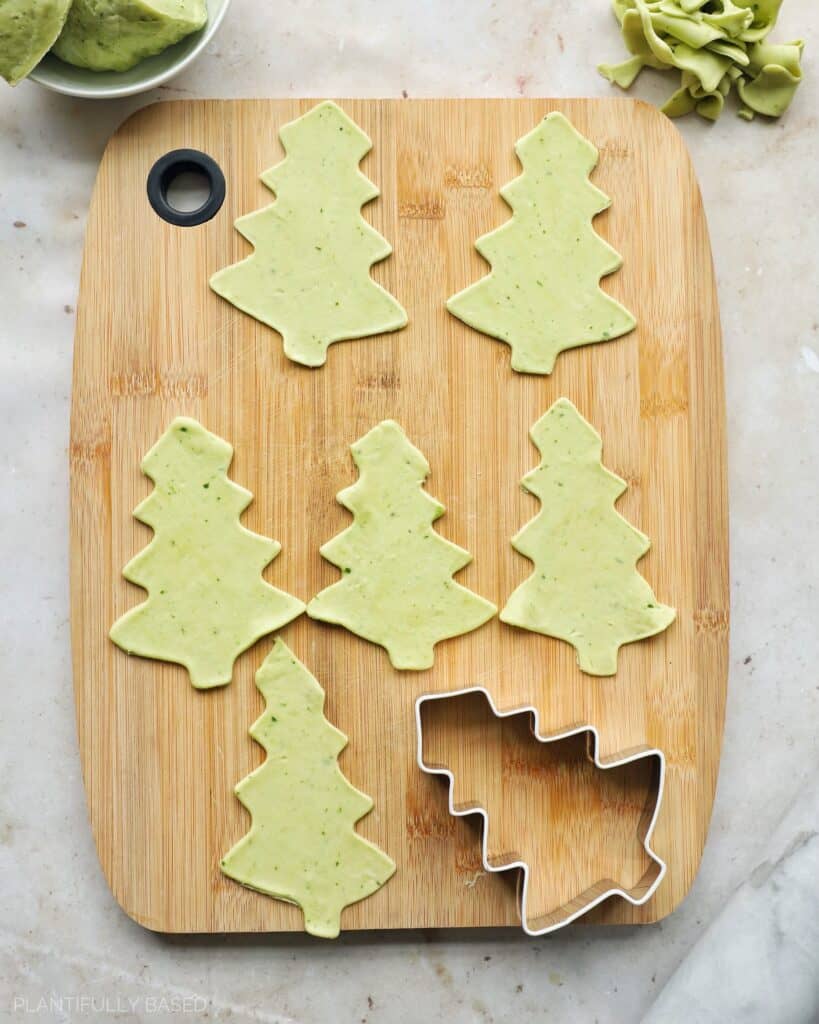
- Christmas Tree Cookie Cutter optional
Ingredients
Dough
- 3 cups (360g) all purpose flour
- 1 tablespoon (15ml) olive oil
- ⅔ cup to ¾ cup (160ml to 180ml) warm water
- ½ teaspoon salt
- ½ ounce (15g) fresh spinach
Filling
- 2 tablespoons (30g) vegan cream cheese
- 1 ounce (30g) vegan parmesan
- 1.25 ounces (35g) fresh spinach
- ½ cup (130g) cannellini beans
- ½ teaspoon salt
- ½ teaspoon garlic powder
- ½ teaspoon onion powder
Instructions
- Prepare the dough: in a blender add the spinach and 1 to 2 tablespoons of water. Blend until the spinach is puréed. In a large bowl combine the flour, and salt. Mix with a spatula to combine. Form a well in the middle and add the olive oil, puréed spinach, and about a third of the water. Add the water in slowly and mix. Continue to mix and add water until a shaggy dough forms.
- Knead the dough: Once shaggy dough is formed knead for about 5 to 7 minutes with clean hands or until a smooth dough has formed. Place in a bowl and refrigerate for 15 to 20 minutes.
- Prepare the filling by adding all the ingredients into a blender and blend until smooth. Taste and add more salt if needed. Pour into a bowl and chill for 10 minutes to thicken.
- Cut the dough into 4 equal pieces. Work with one piece of dough at at time, cover the other pieces of dough with a dish towel so they don’t dry out.
- Use a rolling pin or pasta machine to roll the dough out until very thin. When you hold it up you should be able to see your hands and light coming through. Carefully, fold the dough up and place on the dish with other dough. Cover with a towel. Repeat with the remaining pieces of dough.
- Use a Christmas tree shaped cookie cutter to cut out the trees. You will need 2 Christmas trees per raviolo. Add about 1 tablespoon of filling down the middle of the tree and then wet your finger to wet the edge of the pasta sheet. Add the other Christmas tree cut out on top and use a fork to seal together. Repeat this process until you have made all the ravioli. *please note in the past I have said the scraps cannot be used to make more ravioli however, I tried it and it worked fine. So you can re-roll the pasta scarps
- Bring a medium pot of salted water to a boil.
- Once boiling add about 5 to 6 ravioli and boil for about 5 minutes or until they float to the top. Remove the ravioli and repeat until all ravioli are cooked.
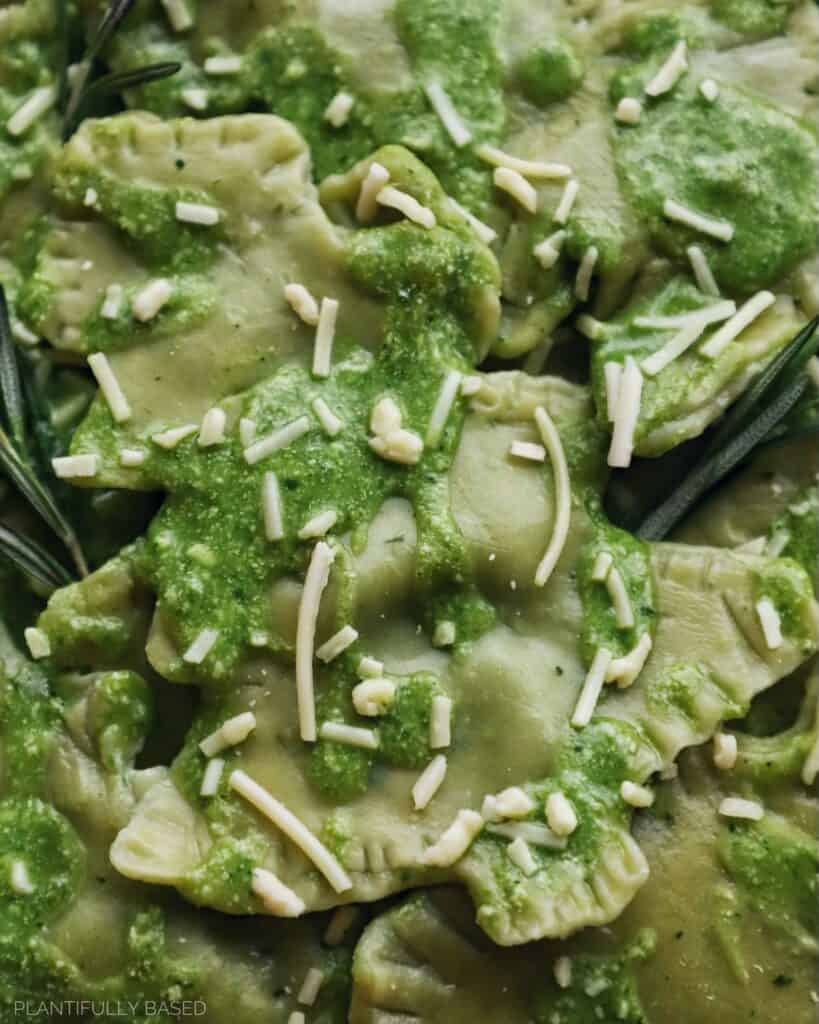
- To serve I used the leftover filling I had and spread it on the bottom of the plate. Add vegan parmesan on top and a bit of the leftover filing mixed with water on top.
Video
Notes
- If you have never made ravioli before it isn’t hard but I would advise you watch the recipe video before doing it.
- Vegan Parmesan used is from Whole Foods 365
- Vegan Cream Cheese used is Daiya *not my favorite but works well for something like this.
Did you try this recipe? Tag me on Instagram @plantifullybased to let me know how it went. If you enjoyed this recipe please be sure to leave a comment or review, it is so helpful for the blog. Thank you!
Plantifully Based® is part of the Amazon Affiliate Partner Program. Links on here may be from Amazon or other affiliate programs. If you decide to purchase through a link I will receive a small commission. This helps to run the blog and make more recipes.



I love this am going to try it. What would be the best way you recommend to freeze them? with parchment between layers? thank you in advance.
Hi Lorraine, you can lay them on baking sheets on parchment paper for about an hour or until they are hardened. Then store them in a container or bag. Enjoy!