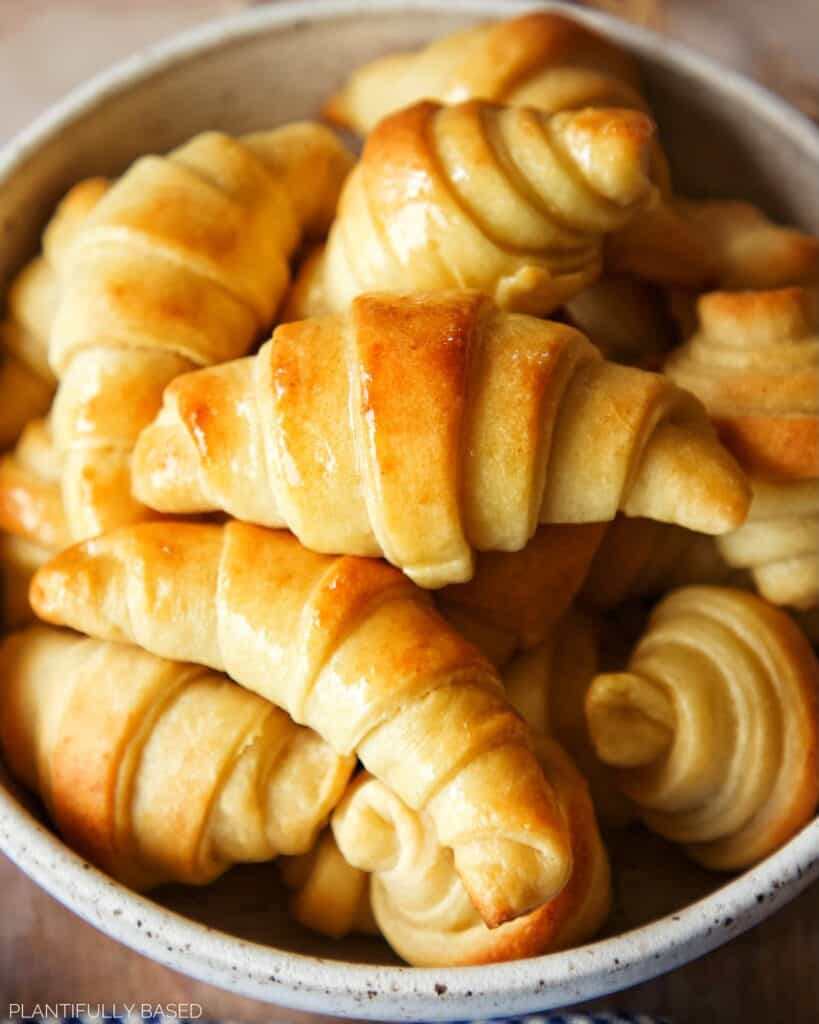
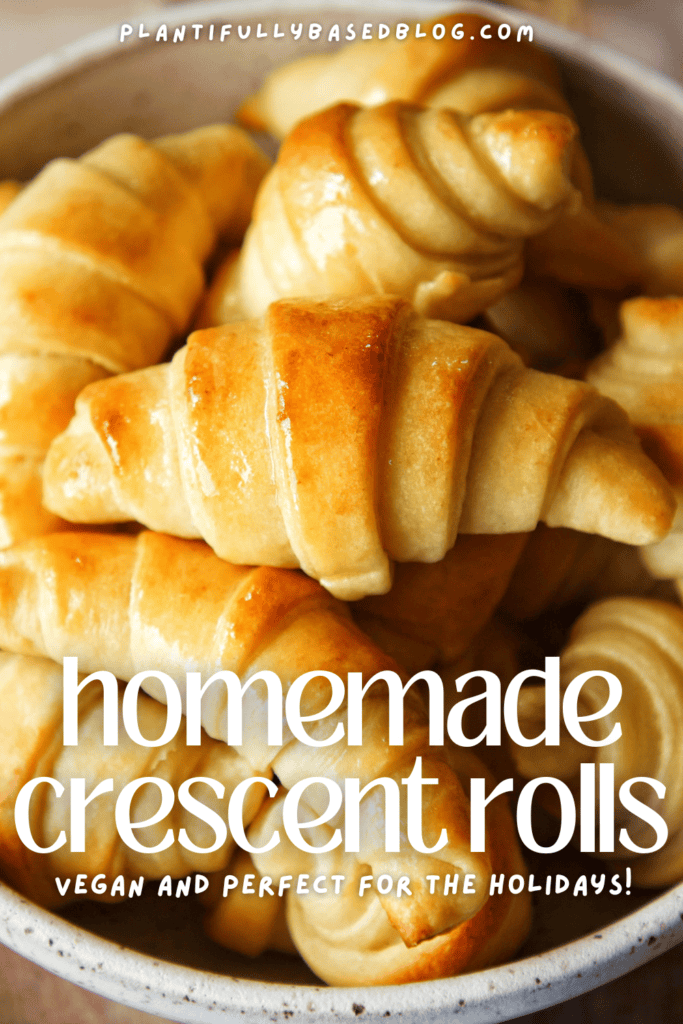
growing up (and still now) crescent rolls just always make the table so much more fun! but did you know how easy and how much better they are when you make them homemade? get ready for the holidays or just a cozy dinner and make some crescent rolls!
the background
We always had the crescent rolls straight from the can growing up and to be honest I never even thought to make them homemade. We have been lucky because crescent rolls have always been accidentally vegan. However, there is now a small problem… In the US it now seems the Pillsbury crescent rolls contain L-cysteine that is animal based. For more information on this my friend Kreg, Big Box Vegan, did an Instagram post on this.
L-cysteine is a dough conditioner. It can be plant based or animal based. Unfortunately, it according to an email Pillsbury’s L-cysteine does contain some sort of animal products. This could be anything like hair or feathers, therefore no longer making it suitable for vegans.
So, to remedy that problem I decided to make homemade ones! The homemade crescent rolls seriously taste so much better, I know you will love them. Now, let’s talk crescent rolls!
what are crescent rolls?
Crescent rolls are somewhat similar to croissants in their shape being a half moon. However, the process for making croissants is very different (and much more time-intensive) than crescent rolls. Croissants require multiple days of work with rounds of lamination and folding. While crescent rolls are made from a simple bread dough, I like to do a few turns of the dough, and then we cut and roll them into their cute little crescent shape.
A crescent roll is more similar to a bread roll than a croissant. In the 1960s Pillsbury came out with the crescent roll using their premade puff pastry dough. They are very soft, slightly sweet, and are great for breakfast, lunch or dinner! The convenience of the crescent roll has always been what is appealing but once you start making them homemade you won’t want to go back.
the ingredients
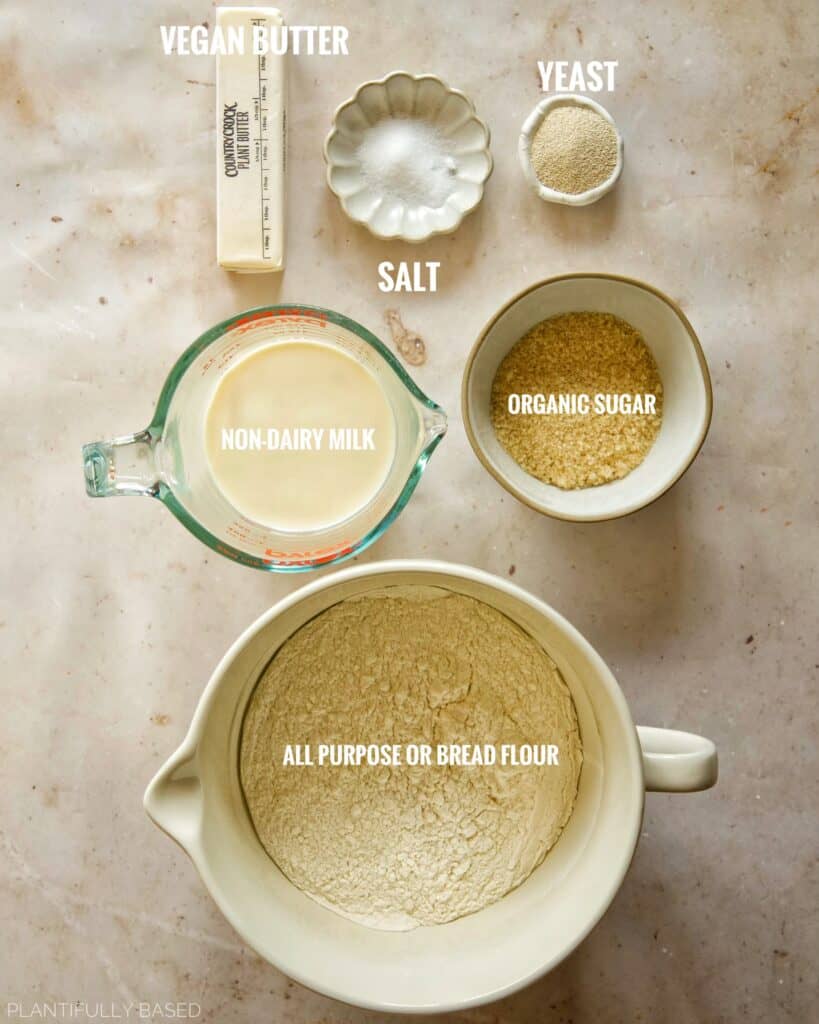
- All Purpose or Bread Flour: of course the main base for any baked good is flour. You can use either all purpose or bread flour. I prefer bread flour for most things these days just due to the texture it creates. Due to it’s higher protein content it tends to make things chewier.
- Active or Instant Yeast: you will need to have a dough that rises and so we will use yeast for this. If you are new to bread making I suggest using active yeast so you know your yeast is working. You will proof it ahead of time and you will actually get to see the yeast rise before adding it to your dry ingredients. I do prefer instant yeast as there is no initial proofing time of the yeast and it just goes directly into your dry ingredients. However, whichever one you choose will be totally fine.
- Organic Sugar: crescent rolls have a sweetness to them so we will add that in with organic sugar.
- Vegan Butter: this will add fat and just pure deliciousness to our crescent rolls. For this recipe I used Country Crock plant butter sticks. However, I think Miyokos would be great for this recipe. I also have a homemade vegan butter recipe that would be delicious here.
- Non-Dairy Milk: you can use any non-dairy milk that is unsweetened and unflavored. My go-to is always Ripple pea protein milk but really anything would work here. However, I don’t suggest coconut as it may add a coconut flavor.
- Salt: for saltiness of course.
the dough
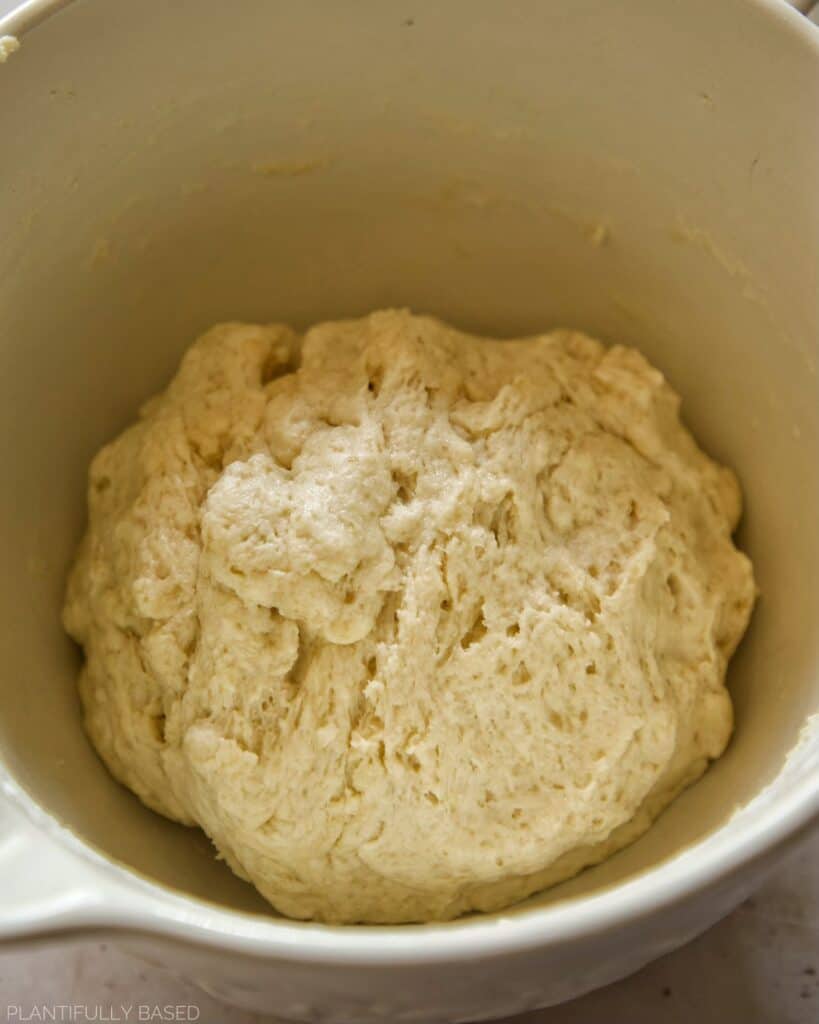
As you can see the ingredients are actually pretty minimal. So, to start off you will make a very simple dough. In a bowl add the flour, sugar, salt, and instant yeast (if using active yeast you will follow directions for proofing on package). Mix that up together and then add in your slightly melted vegan butter and non-dairy milk. I like for the vegan butter to not be melted all the way. It can be 70% liquid with some bits of the vegan butter still solidified. After you mix that in you should have a somewhat sticky dough and then you just let it proof for 30 minutes.
Proofing Tip!
My favorite place to proof dough is in a turned off closed oven. Depending on how cold your house is, it may also help to turn the light on! Make sure to always use a clean dish towel or cling wrap to cover it.
from dough to crescent rolls
After you proof the dough it may be slightly less sticky but you will still need about an extra ¼ cup (30g) of flour to help you with the dough. I like to take the dough and start to roll it out it should still be fairly thick at this point about 2 inches thick. Roll it into a rectangle (approx. 12 inches long by 4 to 5 inches wide) and then you will begin to turn and fold the dough.
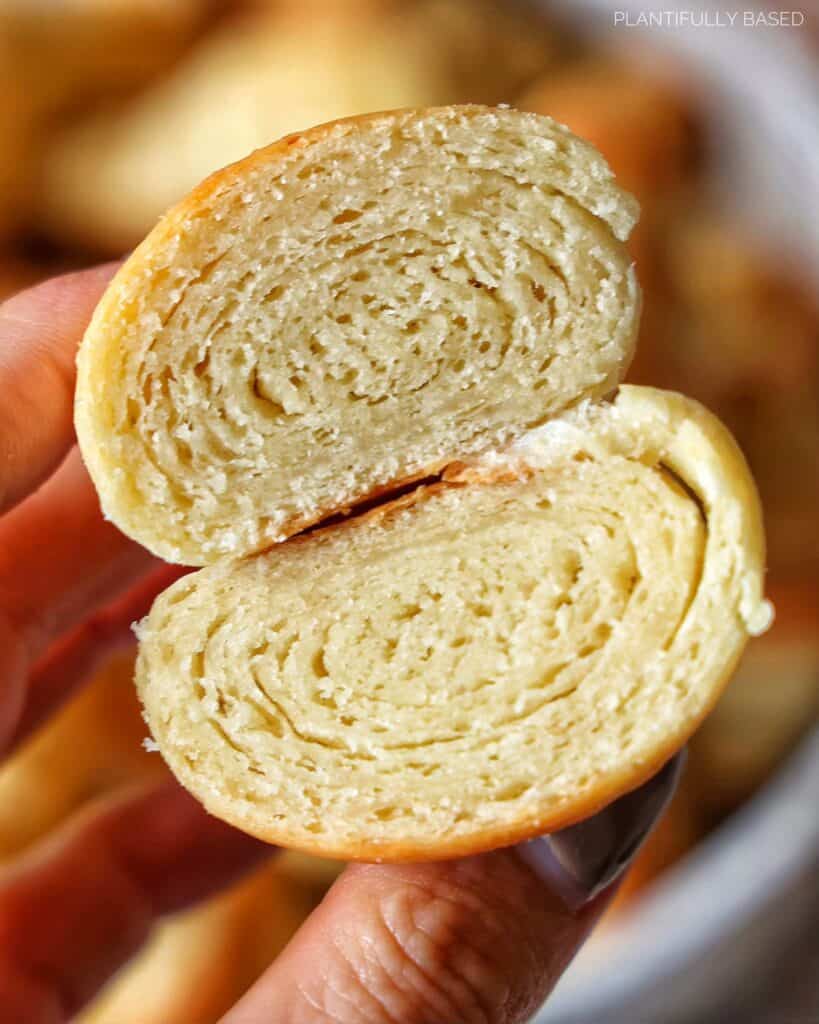
Folding the dough is what will help to give nice beautiful layers inside of our crescent rolls. So, once you have formed the rectangle you will take the piece of the dough closest to you and fold it a third of the way up. Then, take the piece of the dough farthest away from you and fold it over so it now meets that edge of the dough. From there, you will give it a slight roll out into a long rectangle again and repeat that process two or three more times. In the end you should be left with one folded up piece of dough (see pic below) before beginning to roll it out again.
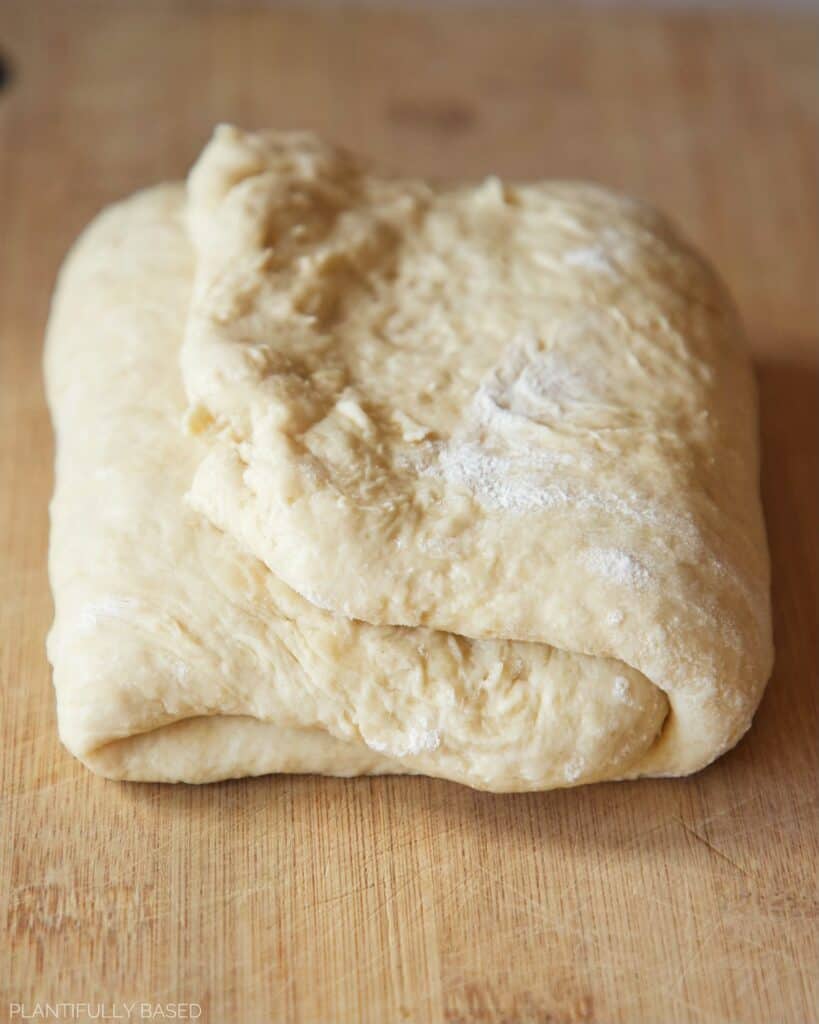
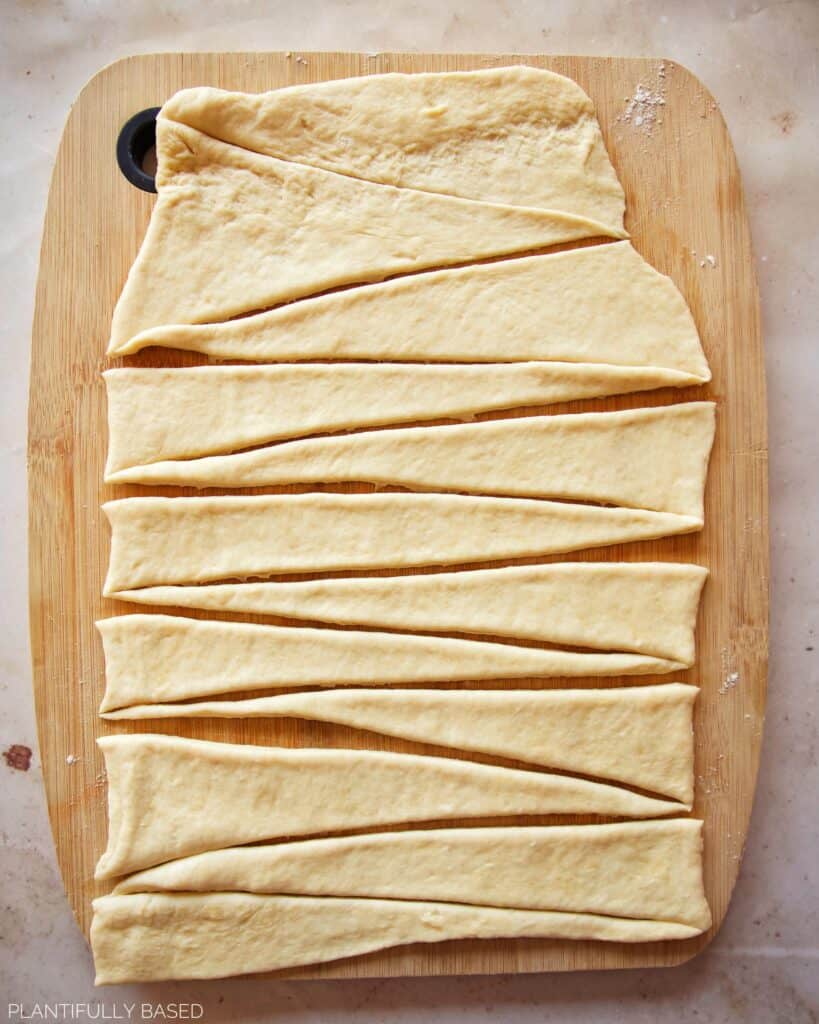
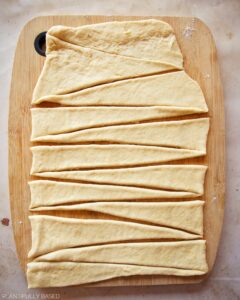
Then, you will roll that piece of dough out that has been folded a few times into a very long rectangle. The rectangle can be anywhere from 28 to 30 inches in length and 9 to 12 inches in width. It should also be fairly thin about ¼ inch to ⅛ inch thick. Then, just take a pizza cutter or sharp knife and begin to make triangles with the base of the triangle being about 1 inch long.
tips for rolling the crescent rolls
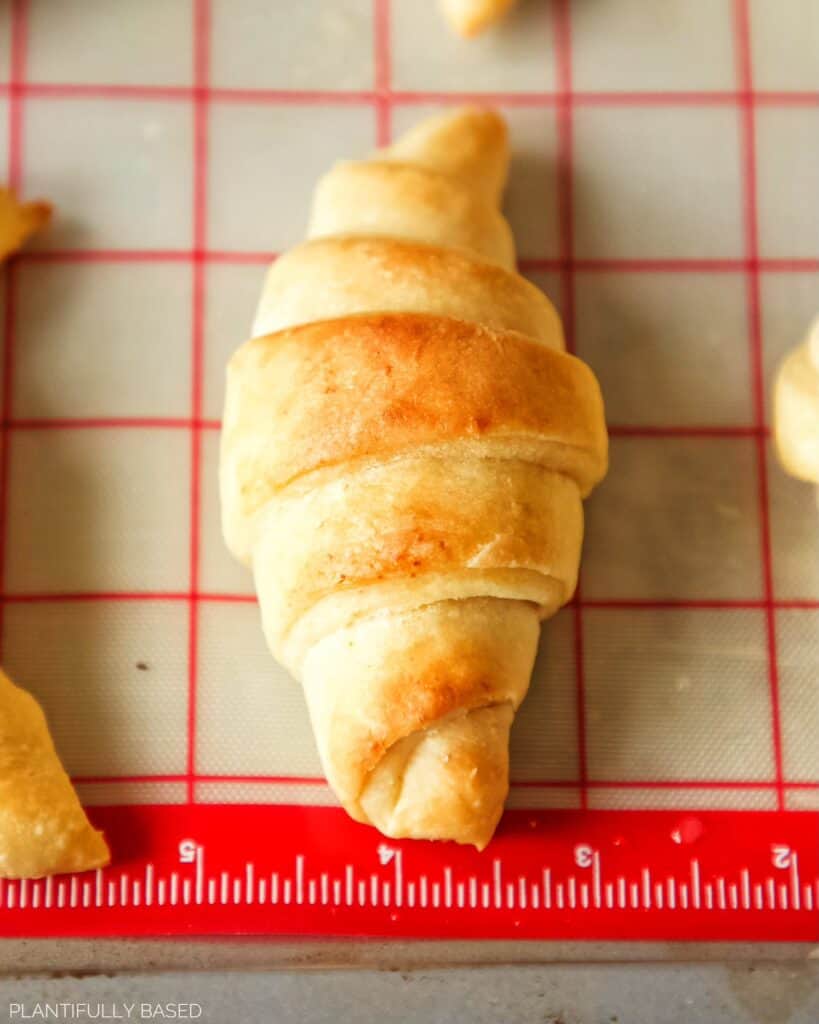
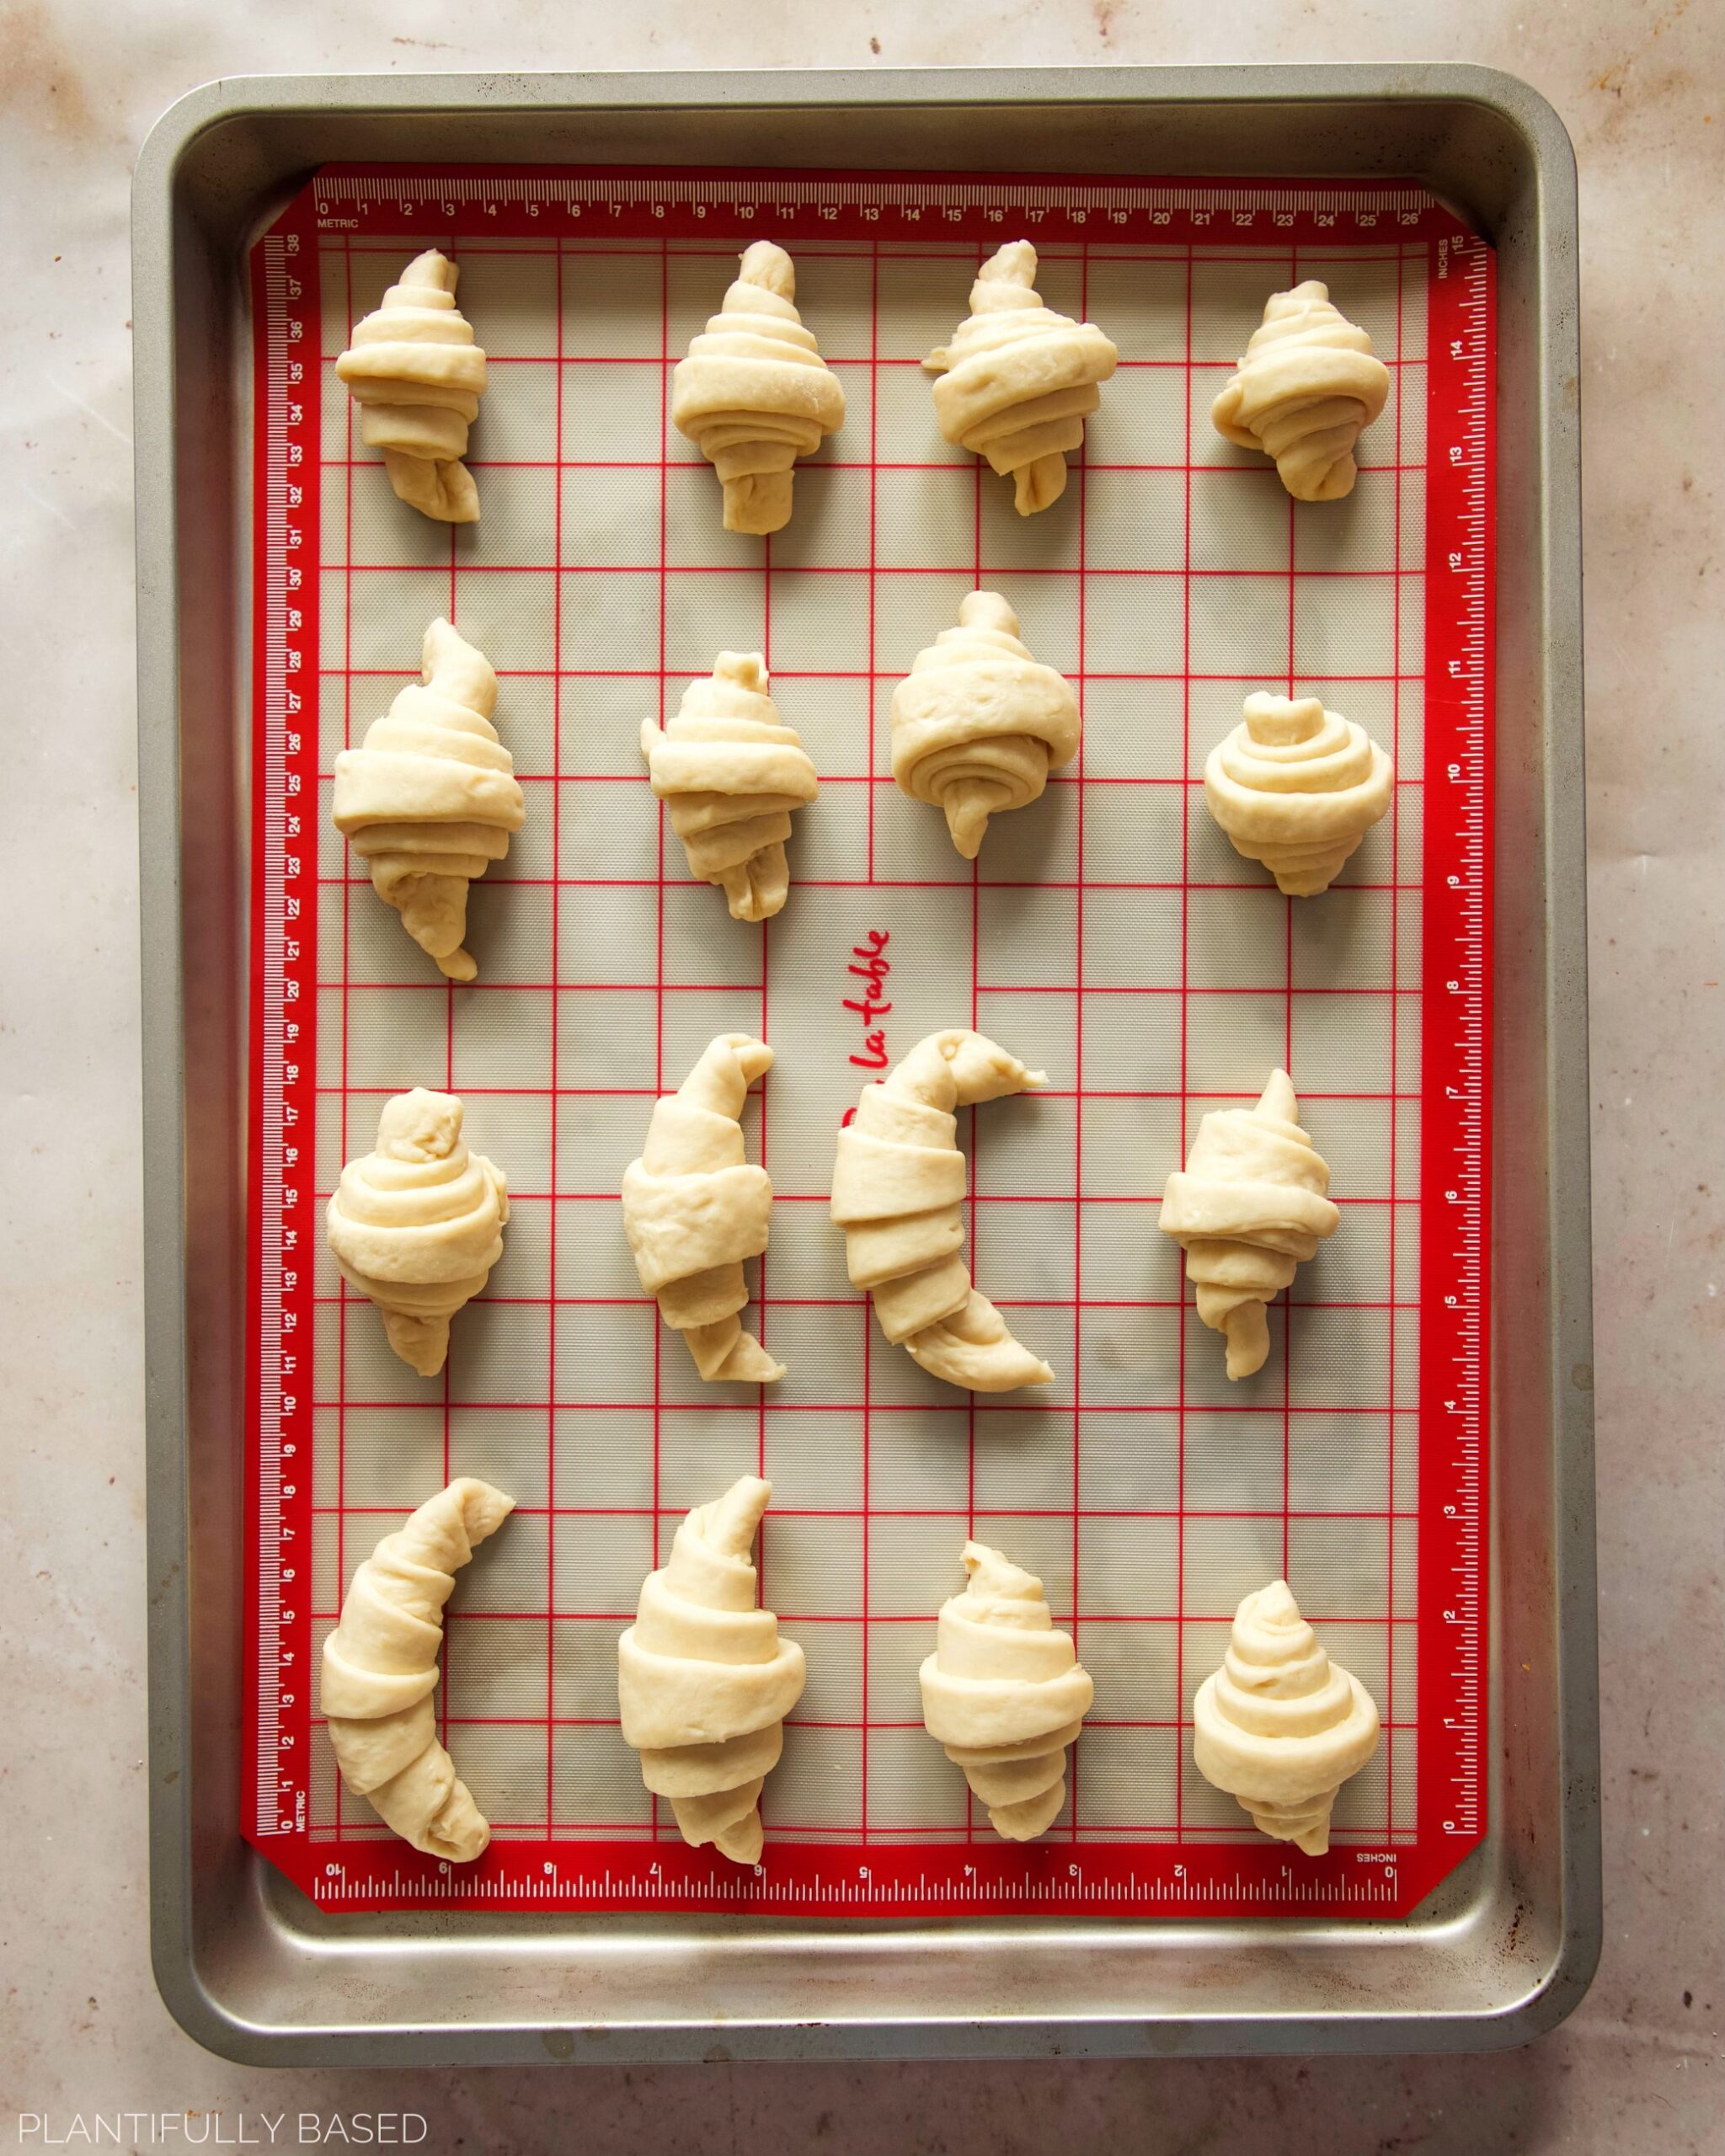
Once you are reading to roll up the crescent rolls you will start with the longest side closest to you and the point of the triangle being farthest away from you. I like to roll it as tightly as I can and I try to start to create a gentle curve while I roll them. This will help to get that half moon shape. Then you will want to tuck the pointy tail of the crescent roll underneath to ensure it bakes and wraps itself up properly.
Be patient with yourself as you do this and after the first few rolls, you will get the hang of it. Also, they most likely will all look different and for me that was totally fine. I think they all look gorgeous and most importantly taste good! We are humans not machines.
Soft, Not Pointy
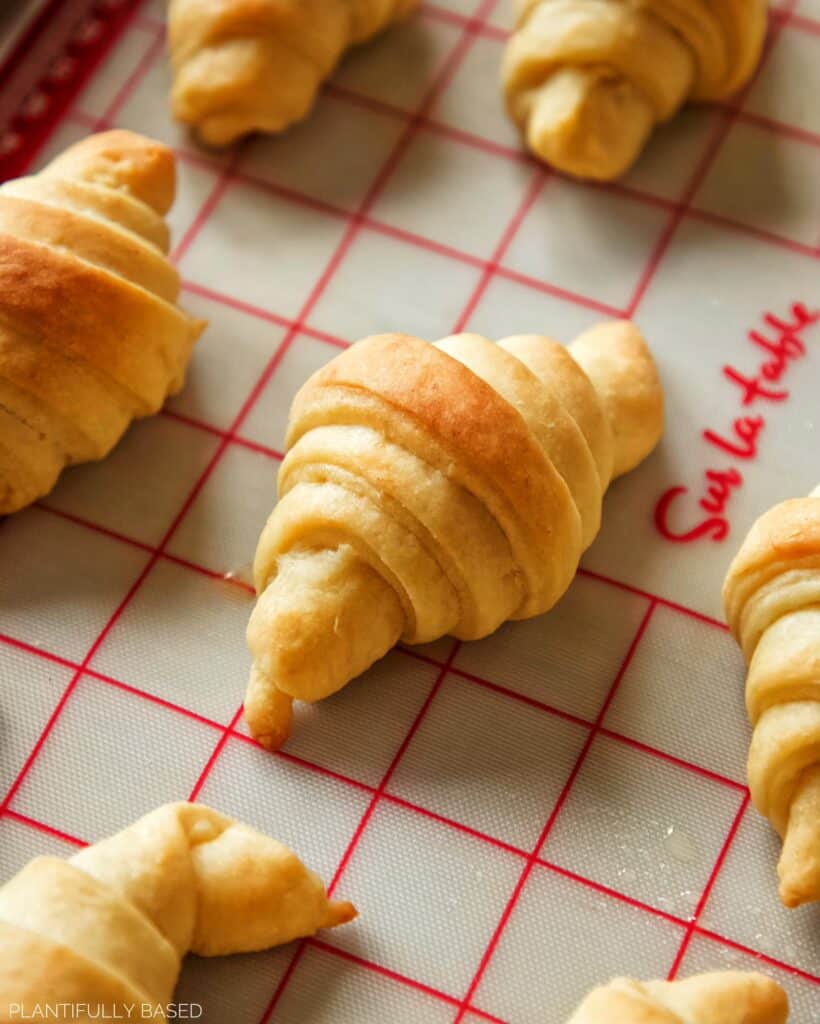
When rolling the crescent rolls up make sure the outside pieces are not too thin or too pointy otherwise they may burn in the oven. You want them to be on the softer and thicker side.
the second rise
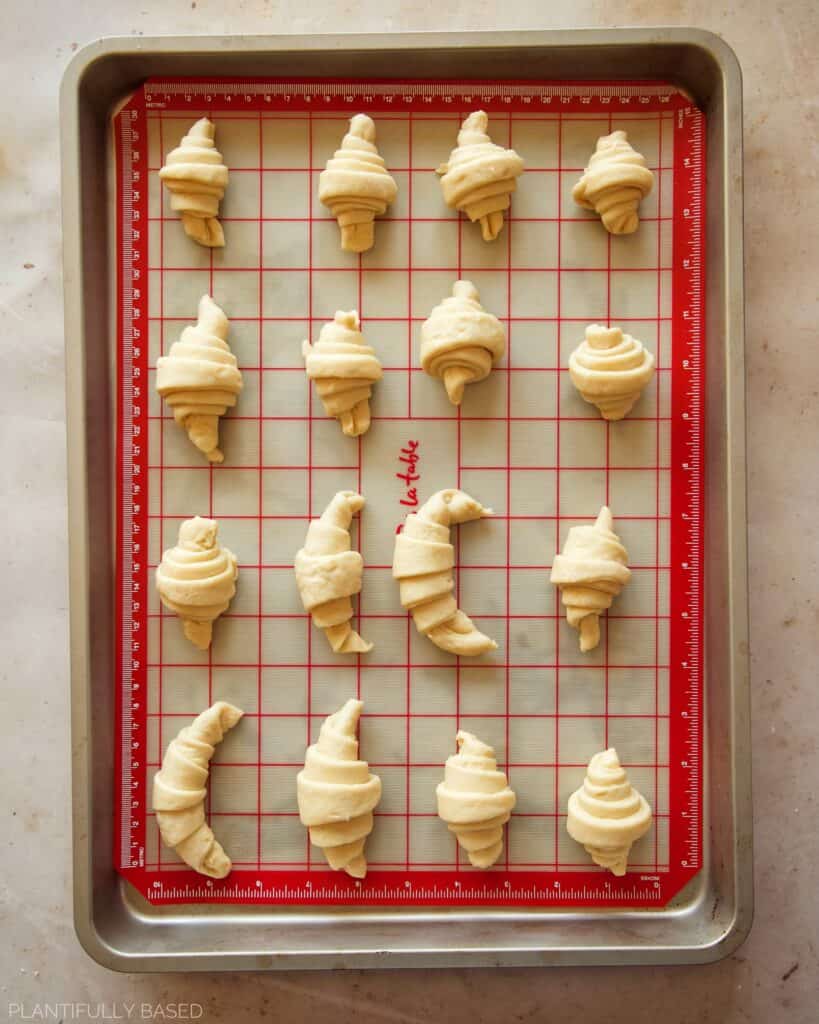
Now, that our beautiful crescent rolls are rolled out and placed on a lined baking sheet they need a second rise. This rise is very important because it helps them to get fluffier. Depending on the temperature of your house you may not see a very dramatic difference after rising. However, they should look softer and looser than when you first rolled them. You can always allow them to rise an extra half hour to an hour if necessary. In photos below the left is before proofing, the right is after proofing. As you can see it isn’t a huge difference but they look a bit thicker.
time to bake
After they have been proofed you are now finally ready to bake them. Everyone’s oven runs differently so don’t worry if your crescent rolls take a little more or less time than the instructions. You will know when the crescent rolls are done because they will be golden on top, soft to the touch, and the bottoms should be lightly browned.
If you would like to brush them with a little non-dairy milk prior to baking or spray the with spray oil you can. I found it didn’t make too much of a difference in the final result so I decided not to make it a mandatory step.
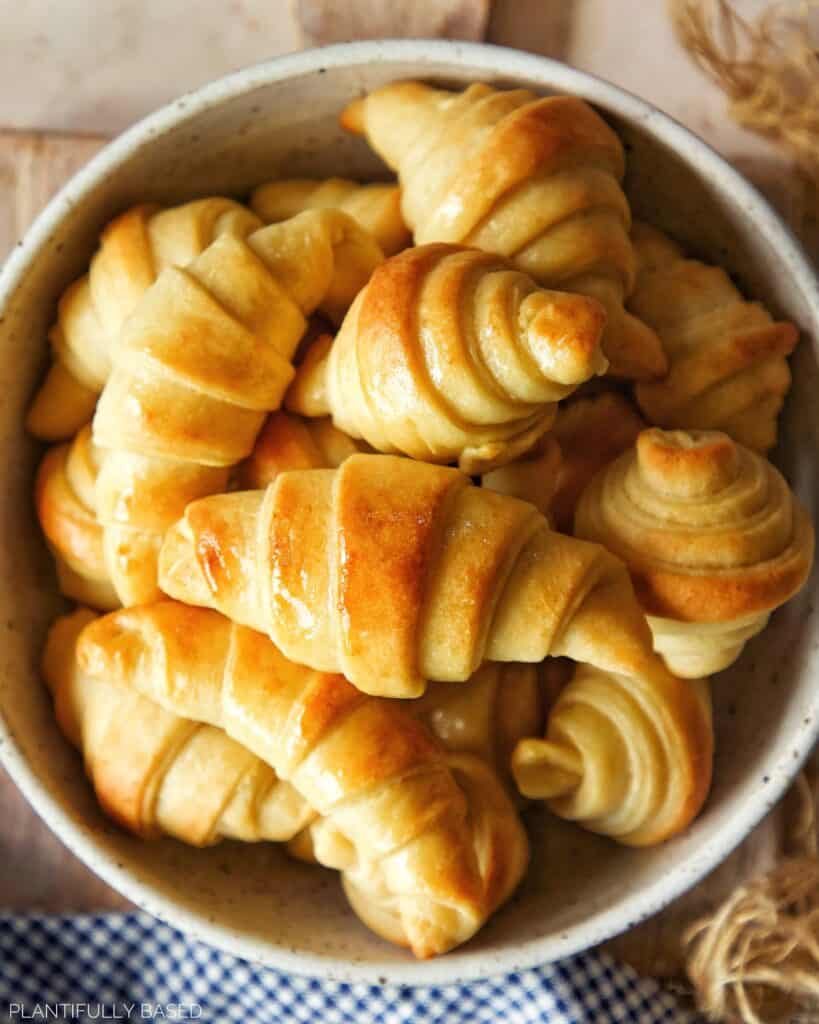
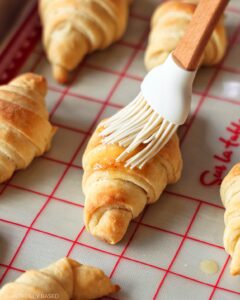
However, I do think once they are done baking it is nice either brush them with a little melted vegan butter or spray them with oil. This helps to enhance the color and add a beautiful look.

more homemade bread recipes
why you’ll love this recipe
With the holidays coming up this recipe is perfect for this time of year! I think you will be amazed at how easy these actually are to make. You will love how much better they taste and there really is just something about making them from scratch that is so much better. These are the best side dish and while I love a loaf of Italian bread, nothing beats some homemade crescent rolls.
vegan crescent rolls faq
- Is this recipe gluten free? No. I did not test it with gluten free all purpose flour so I can’t say how it will work. However, if you decide to give it a try please let us know how it goes.
- Is this recipe nut free? Yes, depending on the vegan butter and non-dairy milk you use.
- Is this recipe soy free? Yes, depending on the vegan butter and non-dairy milk you use.
- How long will these last? Up to 4 days on the counter. You can warm them in the oven, air fryer or microwave.
- Can I freeze these? Yes. I would recommend freezing after baking so then you will just be heating them up when you want to eat them
- I want to make these ahead of time, will that be okay? If you wanted to make these for the holidays I would recommend making them only one day in advance. Then prior to serving you can warm them up in the oven and brush with a little non-vegan butter.
- What do these pair well with? Honestly, anything! They are the best little side. But if you need some cozy recipes to try them out with I would suggest: Vegan Broccoli Cheddar Soup, Pasta Piselli (Pasta & Peas), Tofu Francese.
ORDER MY COOKBOOK
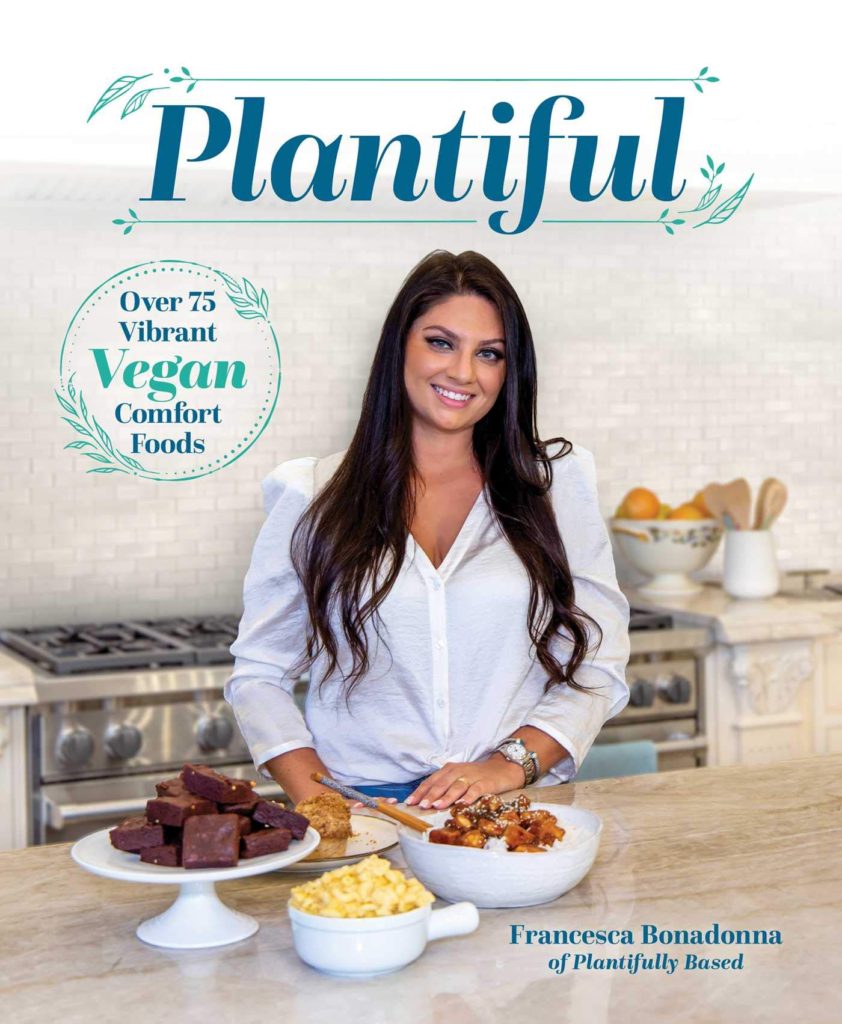
Looking for more delicious vegan comfort recipes? Order my cookbook Plantiful: Over 75 Vibrant Vegan Comfort Foods! Filled with all types of recipe from bites, breakfast, brunch, lunch, dinner, desserts and more! Available on Barnes and Noble, Amazon, IndieBound, Walmart, also available in stores.
Sharing direct links to recipes and pictures is highly encouraged, please do not copy and paste my recipes or share my pictures without permission. I work very hard on my blog and don’t want to see my recipes popping up anywhere. Thank you so much.
Homemade Vegan Crescent Rolls
Equipment
- Rolling Pin
Ingredients
- 3 cups all purpose or bread flour plus more for dusting
- 2 ¼ teaspoons instant or active dry yeast
- ¼ cup organic sugar
- ¾ teaspoon salt
- ½ cup vegan butter slightly melted
- 1 cup non-dairy milk
Instructions
- Prepare the dough: in a large bowl combine the flour, instant yeast (if using active dry yeast see notes), salt, and sugar. Mix to combine. Then add in vegan butter and non-dairy milk. Mix together with a spoon until it forms a dough that is slightly sticky but makes a ball. You don’t need to knead it.
- Proofing the dough: Cover the dough with a clean dish towel and proof for 30 minutes covered. My favorite place to proof dough is in a turned off oven with the door closed and light on.
- Folding the dough: After the dough has proofed generously flour a clean surface. Begin to use clean hands to work the dough and knead it for about 1 to 2 minutes. Then use a rolling pin and roll it into a rectangle. Approximately, 12 inches long by 4 to 5 inches wide and 2 inches thick. During this process of rolling, turning, and folding dough do not be afraid to keep adding flour as necessary. I used an additional ¼ cup (30g) of flour.
- Rotate the rectangle so the shorter ends are facing you. Now take the short side of the rectangle that is closer to you and fold it up about a third of the way. Take the other short side of the rectangle that is farther from you and fold it over. This will create a smaller folded up rectangle. Now, flip the rectangle again so the shorter ends are facing you. Roll the dough out to be able the same size as it was in step 3 and repeat the process of folding it. Finally, repeat the process of rolling and folding one more time. This helps to create flaky layers within the dough.
- Rolling dough: Now roll the dough into a very large rectangle, approximately 30 inches long by 8 inches wide and ¼ inch thick. Be sure that your surface is well floured so there isn’t any sticking.
- Forming crescent rolls: use a pizza cutter or a sharp knife to cut out the crescent rolls. You will make alternating triangles with the base of the triangle being approximately 1.25 inches.
- Rolling crescent rolls: to roll the crescent rolls up start with the thickest part of the triangle facing you and then carefully begin to roll it up until you’ve reached the end point. Make sure to tuck the tail underneath the roll so it isn’t popping out. Place on a lined baking sheet. Repeat the process until all rolls are made. You may need more than one baking sheet for all of them.
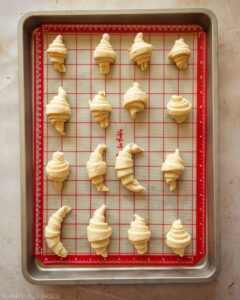
- Cover the rolls with a clean dish towel and proof for 1 hour.
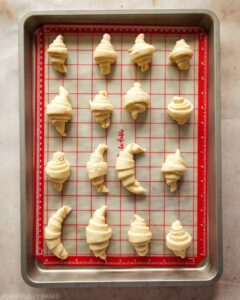
- Preheat the oven to 375°F (190°C).
- Bake the rolls for 12 to 15 minutes depending on your oven. They should be golden brown and puffier.
- After baking if desired you can brush them with melted vegan butter. I used 2 teaspoons (10g) of melted vegan butter for all of the crescent rolls. Enjoy.
Video
Notes
- Vegan Butter brands I like Country Crock plant sticks or Miyokos vegan butter. I also have a homemade recipe.
- If you are using active dry yeast follow the instructions on the package for proofing using the non-dairy milk as the liquid. Then, add the proofed yeast and non-dairy milk into the bowl with the wet ingredients.
- Nutrition facts are based on my gram measurements put into Cronometer. Yours may vary, they are to help you get an idea.
- If you have questions please refer to the FAQ section above the recipe. I would also highly encourage you to read over this blog post if you need any help.
Nutrition
Did you try this recipe? Tag me on Instagram @plantifullybased to let me know how it went. If you enjoyed this recipe please be sure to leave a comment or review, it is so helpful for the blog. Thank you!
Plantifully Based® is part of the Amazon Affiliate Partner Program. Links on here may be from Amazon or other affiliate programs. If you decide to purchase through a link I will receive a small commission. This helps to run the blog and make more recipes.


Leave a Reply