
if you have been wanting to try making some vegan cheese at home, this recipe is easy and so great to to keep in the fridge! these homemade vegan cheese slices are made from a base of non-dairy milk and vegan yogurt and then uses tapioca flour and agar powder to help give it some cheese-like texture.
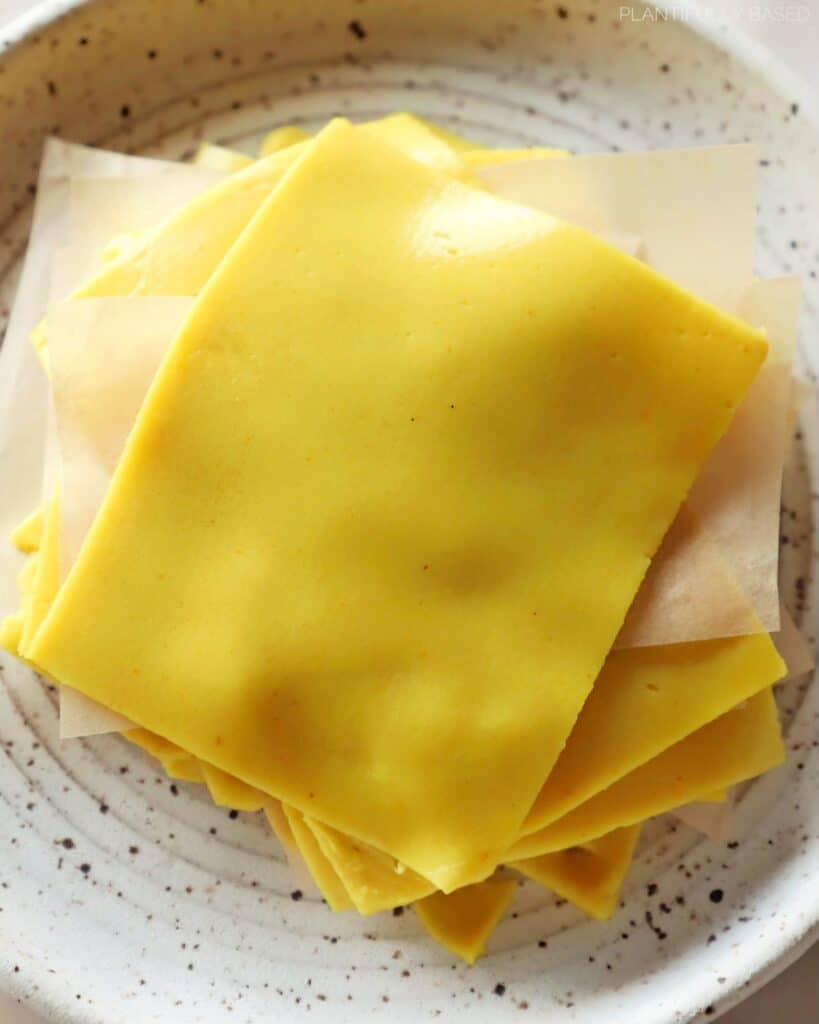
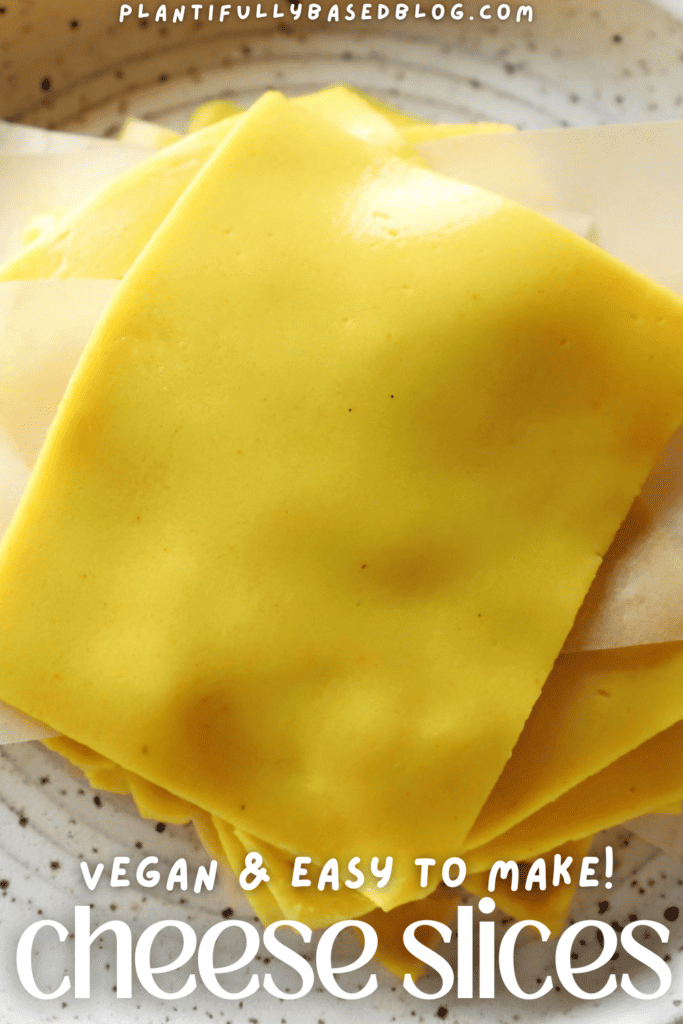
These homemade vegan cheese slices are easy to make, allergen friendly, and great to keep on hand! Made with a base of non-dairy milk and vegan yogurt, then using turmeric and paprika for a natural color, and agar powder to help set it. They will be something you want to make and keep on hand for sandwiches!

The Ingredients
- Non-Dairy Milk: for this recipe I used Ripple Pea Protein milk! It is a higher protein milk which I think helps when it comes to vegan cheese making. You could also use anything that has at least 7g plant protein per serving. There are so many options out there now! I would avoid using coconut, almond, or cashew milk as they are lower in protein, however, if you do try with that please let me know how it goes.
- Vegan Yogurt: I used a plain soy based vegan yogurt. You can use any vegan yogurt you like this helps to just add an element of fermentation without having to throw in something like probiotic powder.
- Agar Powder: a seaweed based product, this will help the vegan cheese to set into that perfect cheese slice consistency.
- Tapioca Flour: this helps to give some stretch to the vegan cheese slices, this will also make it melt nicer.
- Nutritional Yeast: this will add cheesiness and umami to the vegan cheese, along with essential B vitamins!
- Paprika and Turmeric: these two spices won’t add any taste but will help to give the homemade vegan cheese slices their color.
- Salt: make it salty, duh.
How To Make Vegan Cheese Slices
Don’t let the idea of making vegan cheese at home overwhelm you. All you need to do is blend the ingredients just to get them all well incorporated. Then, you will heat it in a pot until it turns stretchy and gooey. Carefully, spread it out into a thin layer on a baking sheet. Place it in the fridge for at least 30 minutes or until it is fully set. Then you can cut it into squares and that’s it! Super easy and ready to use.
Tips for Vegan Cheese Slice Making
- Don’t make any replacements. I know this sounds silly but please don’t try to substitute any of the ingredients for something else they were chosen for a reason.
- Use a silicone mat. While you can totally spread this in the bottom a good non-stick oiled pan (I tested it that way) the silicone mat just makes it even easier for spreading and easy for peeling the vegan cheese slices off of.
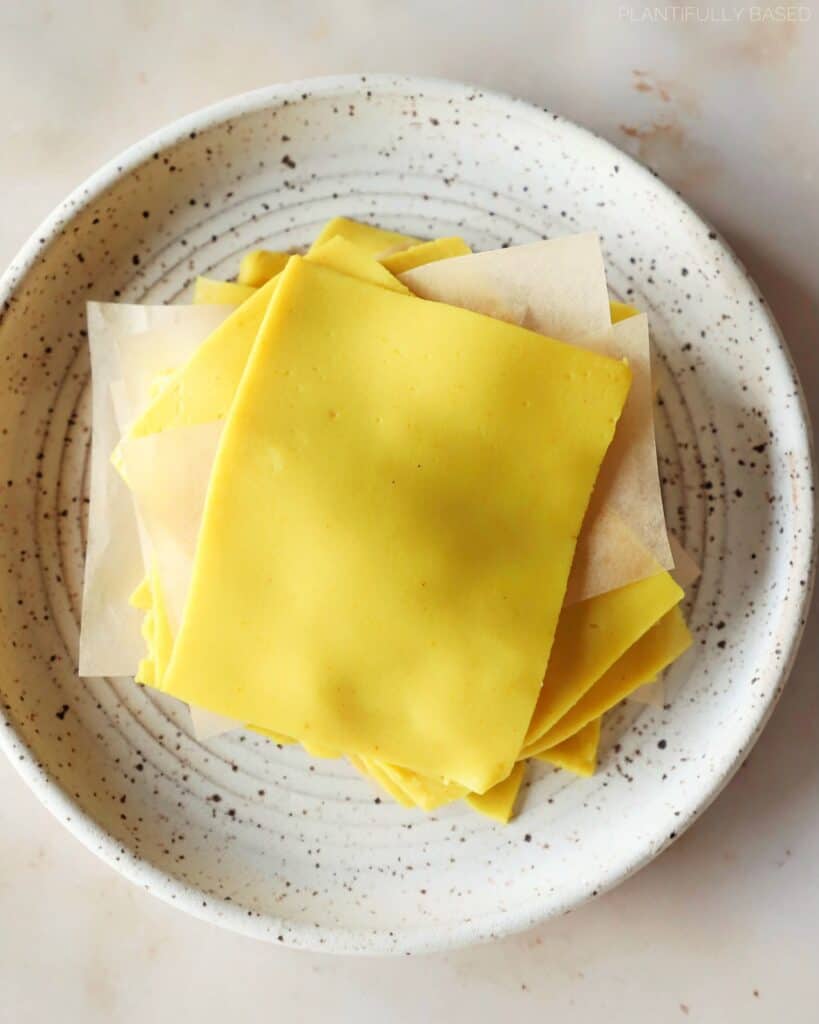
- Store with parchment paper in between. This will help the vegan cheese slices to not stick to one another and they will come apart easier.
- Spread the vegan cheese to the right thickness. If you like thicker vegan cheese slices, you don’t spread it very thin. But I suggest keeping it on the thinner side, think American cheese thickness.
More Vegan Cheese Recipes


Who Is This Recipe For?
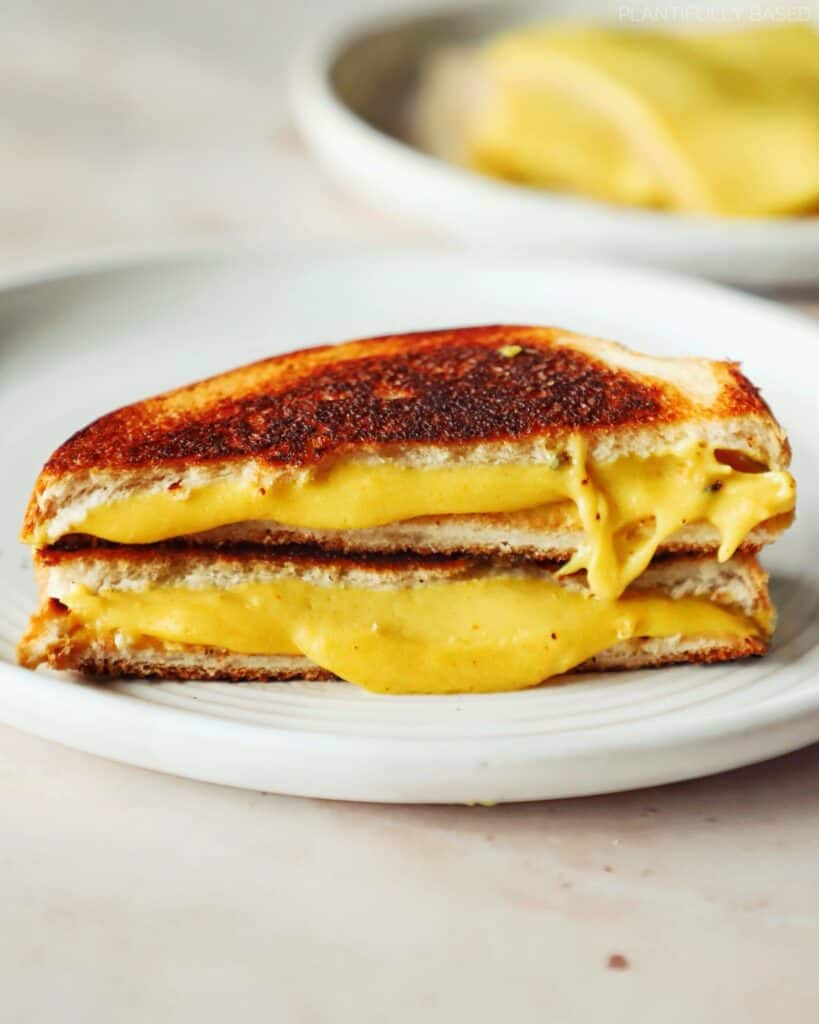
Anyone! Whether you are a vegan, have a dairy allergy, or you just like to try new recipes this one is for you. It is great to eat on sandwiches or in a grilled cheese. There are so many fun ways to use these. They will stay good in the fridge for up to 4 days and they will be something you want to make and always have on hand.
Homemade Vegan Cheese Slices FAQ
- Is this recipe soy free? Depending on the vegan yogurt and non-dairy milk you use, yes.
- Is this recipe gluten free? Yes.
- Is this recipe nut free? Depending on the vegan yogurt and non-dairy milk you use, yes.
- How long does this recipe last? Up to 4 days in the fridge.
- Where do I get agar powder? You can find it at most health food stores or order it online! It is an essential ingredient and cannot be replaced.
- Can I turn this into a block and slice it? I do not think there is enough agar in this to thicken it up enough to do that.
- How do I store this? In a container in the fridge with parchment paper in between the slices.
- The slices are mushy, what did I do wrong? If you cut the slices and they aren’t feeling like a cohesive unit and they are mushy you may have tried to cut them too early. Another possibility is the agar powder didn’t activate during the cooking phase.
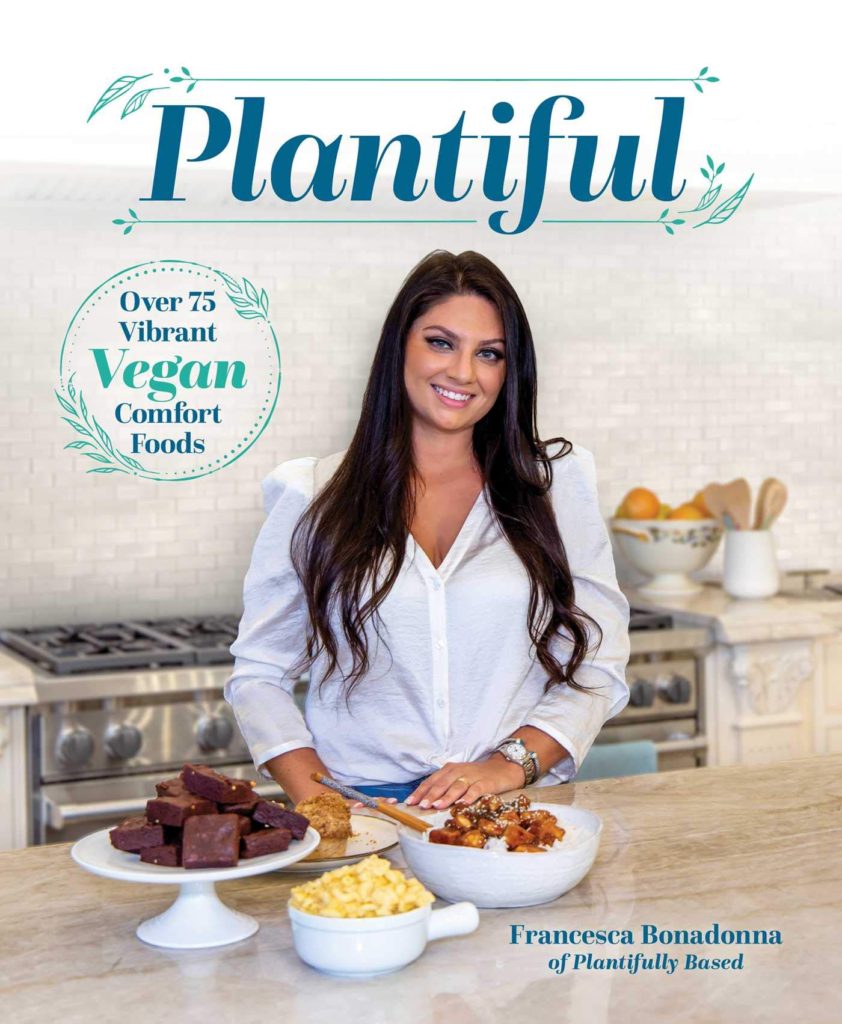
ORDER MY COOKBOOK
Looking for more delicious vegan comfort recipes? Order my cookbook Plantiful: Over 75 Vibrant Vegan Comfort Foods! Filled with all types of recipe from bites, breakfast, brunch, lunch, dinner, desserts and more! Available on Barnes and Noble, Amazon, IndieBound, Walmart, also available in stores.
Sharing direct links to recipes and pictures is highly encouraged, please do not copy and paste my recipes or share my pictures without permission. I work very hard on my blog and don’t want to see my recipes popping up anywhere. Thank you so much.
Homemade Vegan Cheese Slices
Equipment
- Silicone Mat optional
Ingredients
- 1 cup (240ml) non-dairy milk, unsweetened see note about non-dairy milk choice
- 2 tablespoons (30g) non-dairy yogurt, unsweetened
- 1 tablespoon (5g) nutritional yeast
- 1 tablespoon (8g) tapioca flour
- 1 tablespoon (9g) agar powder
- ¾ teaspoon salt
- ¼ teaspoon ground turmeric
- ¼ teaspoon paprika
Instructions
- Add all of the ingredients into a blender and blend for 30 seconds until smooth and well incorporated.
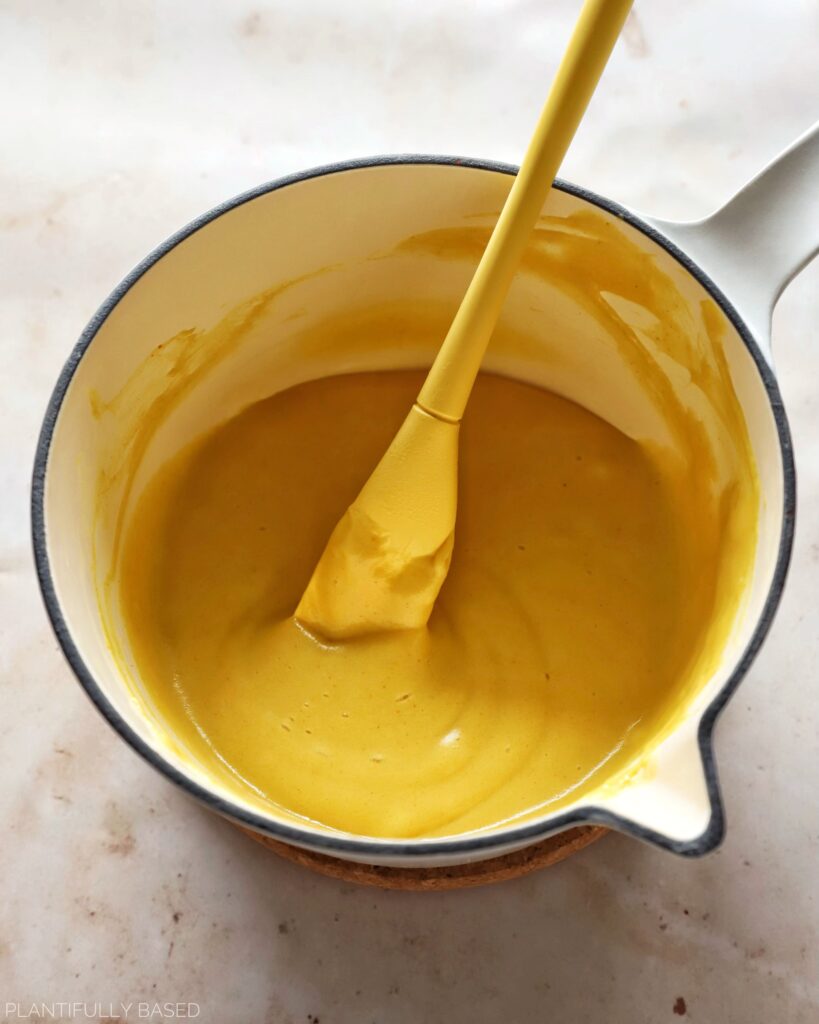
- Pour into a pot and place on the stove. Cook on medium high heat for about 5 minutes mixing continuously with a spatula until it starts to thicken. Once it thickens and is becoming stretchy lower the heat to medium and continue to cook for 10 more minutes mixing with the spatula.
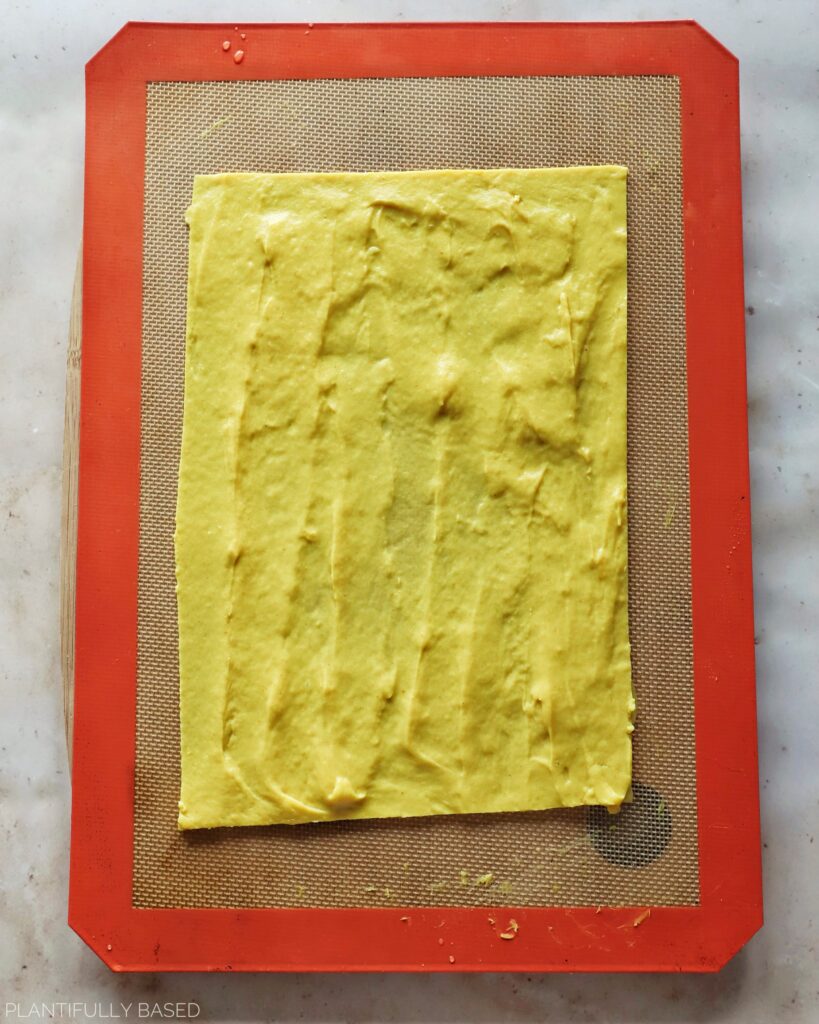
- Working quickly pour the vegan cheese over a lined baking sheet with a silicone mat OR you can spray a baking sheet lightly with oil. Use a spatula or an offset spatula to spread into a large, thin rectangle about the thickness of a normal cheese slice.
- Place in the fridge to chill for at least 1 hour or longer.
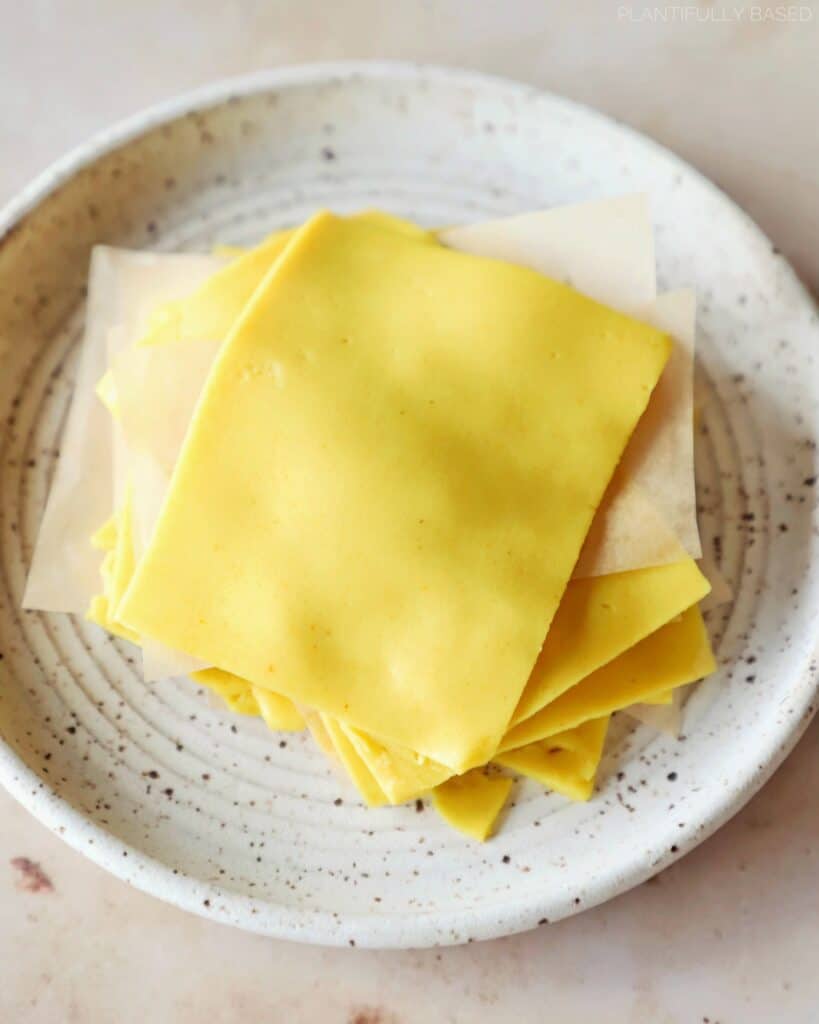
- Remove from the fridge and cut into 8 rectangles. I like to cut the uneven edges off to make a perfectly straight rectangle and then cut my slices out from there. If you don't care about uneven edges you can skip this. You can also save the uneven edges too of course. Use a knife to carefully lift up the cheese slices.
- You can enjoy immediately or layer in a container with a piece of parchment paper in between each piece of vegan cheese. Enjoy.
Video
Notes
- Non-Dairy Milk Note: I am using Ripple Pea Protein Milk for this recipe, please make sure you are using a higher protein non-dairy milk with at least 7g plant protein per serving! There are many options out there.
- A silicone mat is not necessary you can just use a non-stick baking sheet but the silicone mat does help a lot!
Did you try this recipe? Tag me on Instagram @plantifullybased to let me know how it went. If you enjoyed this recipe please be sure to leave a comment or review, it is so helpful for the blog. Thank you!
Plantifully Based® is part of the Amazon Affiliate Partner Program. Links on here may be from Amazon or other affiliate programs. If you decide to purchase through a link I will receive a small commission. This helps to run the blog and make more recipes.
What is agar powder? Is there a substitute?
hi I explained what agar powder is in the ingredients section of the blog post. a seaweed based product. unfortunately there is no substitute.
hi thanks for this recipe! do I need to make this into slices or is it ok to simply pour this into a glass container and use as a normal plant based cheese?
Hi Lorenza! this recipe is softer and thinner making it more suited for the thin slices. These may be better suited for what you are looking for: https://plantifullybasedblog.com/2024/06/15/vegan-cheddar-cheese/
https://plantifullybasedblog.com/2024/03/09/homemade-pepper-jack-vegan-cheese/
Is there anything that can be used for a substitute for yogurt? Could a capsule or two of probiotics added to plant milk and some tapioca starch to make it thicker?
Hi Nicole, if you would like to experiment around with the recipe go for it! this recipe does already have tapioca flour in it. Are you trying to look for more like a block of cheese?
I made this twice, and it’s very nice. The first time I used almond milk. I make my own, richer than store bought. It worked great. The second time I had no almonds, but I had 3 ounces of tofu on hand, so I blended that with enough water to make 1 cup and again it turned out really nice. Next time I’m going to add a splash of lemon juice or acv to give it a little tartness. Thanks for a great recipe.
Hi David, thank you for trying the recipe. Glad to hear all the ways you decided to make it. Thank you for trying it. Sure you can definitely add that in if you like a slightly more tangy taste. These were really modeled more after an American cheese slice which is a much softer, just salty, creamy cheese! Thanks for taking the time to comment and review!
I made these slices and they turned out brilliantly! Really good for cheese toasties. Has anyone tried freezing the slices? Not sure how long they will keep in the fridge.
Hi June, so glad you enjoyed them. Personally, I don’t recommend freezing them. I answered how long they last in the fridge in the FAQ section “How long does this recipe last? Up to 4 days in the fridge.”
Could I pour it on a baking sheet lined with parchment paper?
Hi Jane, sure that will be fine. I find the silicone baking mat just helps to be able to peel it off a bit better!
Agar powder is easily available
This sounds great. I have agar powder, but have had it for a long time. Do you know offhand if it expires? I can’t read anything on the label. 🙂
Hi Shanna, I have to be honest I am not quite sure I searched on Google and it says it can have a shelf life of up to 5 years if stored properly. Best way to see if it is active would be to mix it with some water and heat it up and then see if it gels.
I used agar powder that is about 20 years old and it still worked. Some stuff is just amazing!
Agar powder can last indefinitely if stored in an airtight container
Thank you for the recipe! Do you know of any substitutes for the yogurt?
Hi Mackenzie, I don’t but if you wan to leave it out it should be okay.
Super easy and turned out great! I’ll definitely be making these again in the future.
Hi Lindsay, so glad you enjoyed them yay!
Honestly blown away here! My family wanted grilled cheese with our tomato soup and I found this on a quick “oil free vegan American cheese” google search and luckily had everything to make it on hand plus it was SO quick!
I don’t like how store bought vegan cheeses are loaded with oil and no protein, so I love this recipe! It melted really well in our grilled cheeses. (I also made your pepper jack which was great in there too!)
I’ll probably cut back the turmeric a little next time but otherwise no notes. Even my cheese loving daughter devoured this straight from the container. Will be making a double batch today! Thank you! 😊
Hi Sam!! yay that makes me so so happy to hear. I am also so glad to hear that you found it via a Google search, awesome. Thank you for trying out the recipe and taking the time to leave a comment/review means a lot!! xo
What is the purpose on non dairy yogurt if you’re not culturing it? Assume if your just after the tang, you could use lactic acid or. Pickle juice,
from the ingredients section “Vegan Yogurt: I used a plain soy based vegan yogurt. You can use any vegan yogurt you like this helps to just add an element of fermentation without having to throw in something like probiotic powder.”
I followed the recipe except I used 2 tablespoons of my cashew cream instead of yogurt because the cashew cream was tangy and already fermenting a bit.
I used my high speed blender for 30 seconds which may have started to cook it a bit.
After a few minutes on the stove it was looking perfect but I was afraid it still needed more time because the recipe says 10 minutes after it comes together….after about 6 minutes it was looking way overcooked and I had the gas stove on the lowest setting. Worked quickly to spread it out but it looked more like cooked eggs at this point. I think I should have followed my instincts instead of the 10 minutes stated in the recipe. Live and learn.
Hi J, ahhh yes it seems like with those few variations made you could’ve needed less cooking time. Especially, as you have a gas stove and I have an electric so my stove is a bit weaker.