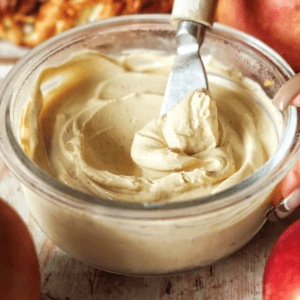
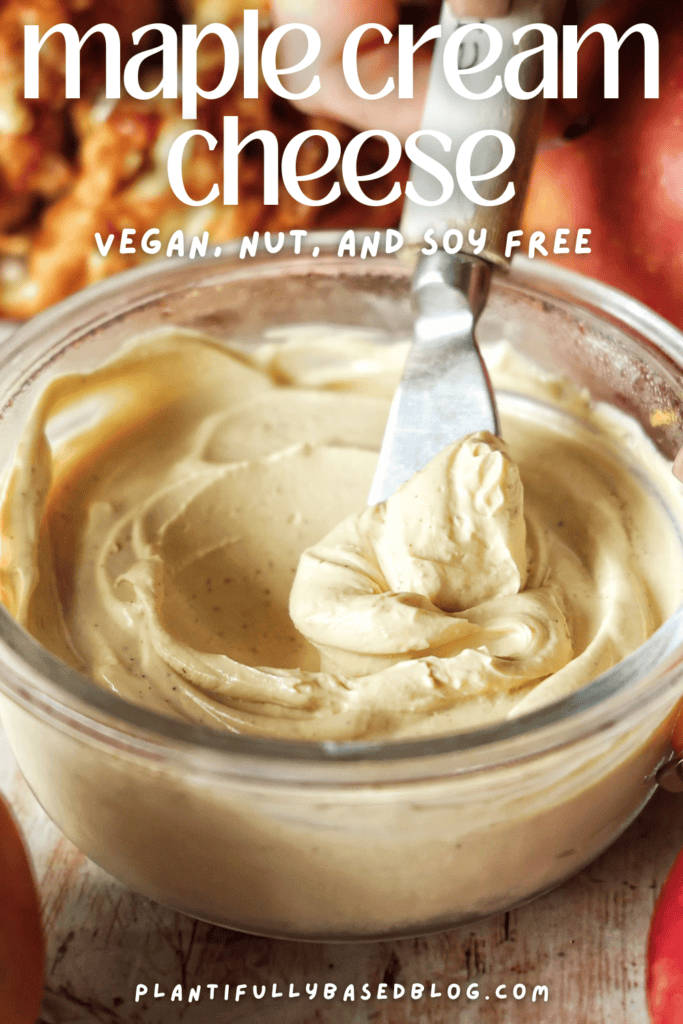
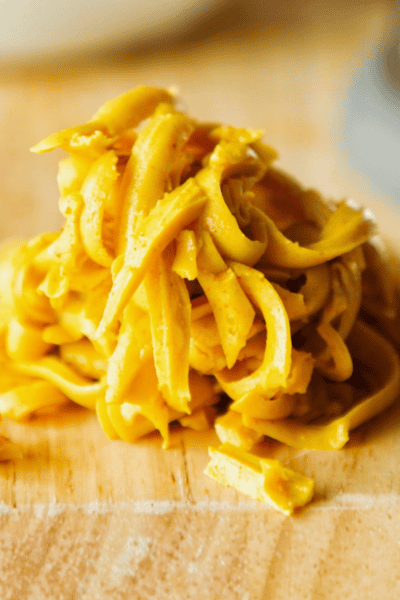
this homemade maple cream cheese is fully vegan and nut free! it is easy to make and only 6 ingredients. it comes out so creamy and delicious, you will be amazed at how much you love it.
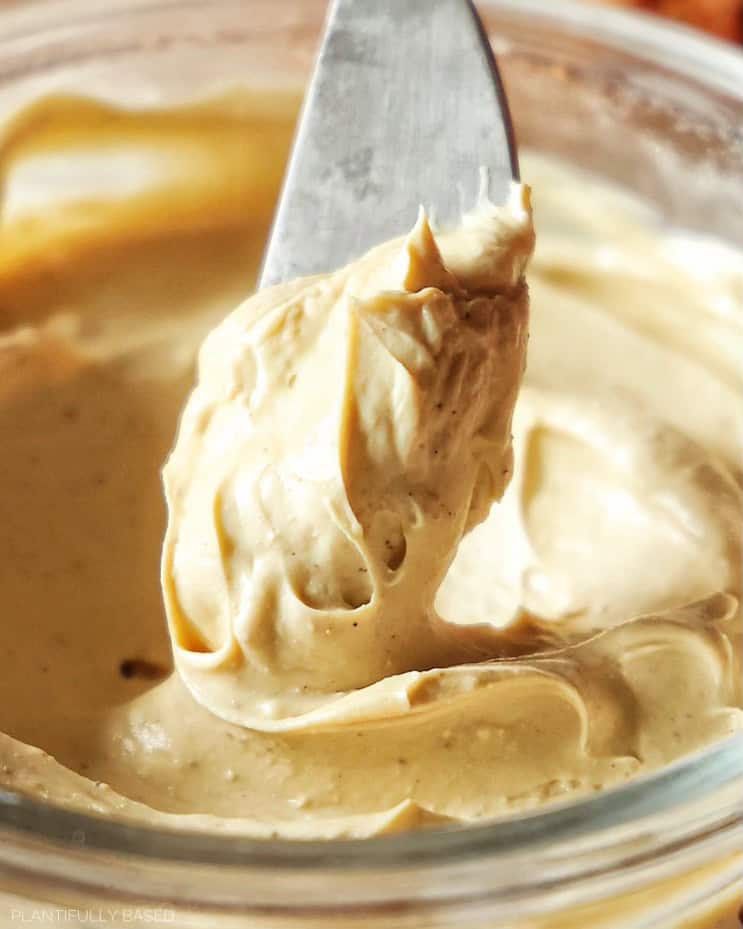
There are many ways to make vegan cream cheese and I find this method to be the most like typical cream cheese. It is made by boiling a high protein non-dairy milk with an acid, that will then curdle and from there you just need to blend the curds with maple syrup. It is so easy to make and you won’t regret giving it the few minutes of effort. If you are looking for a regular vegan cream cheese I have a recipe for that as well!
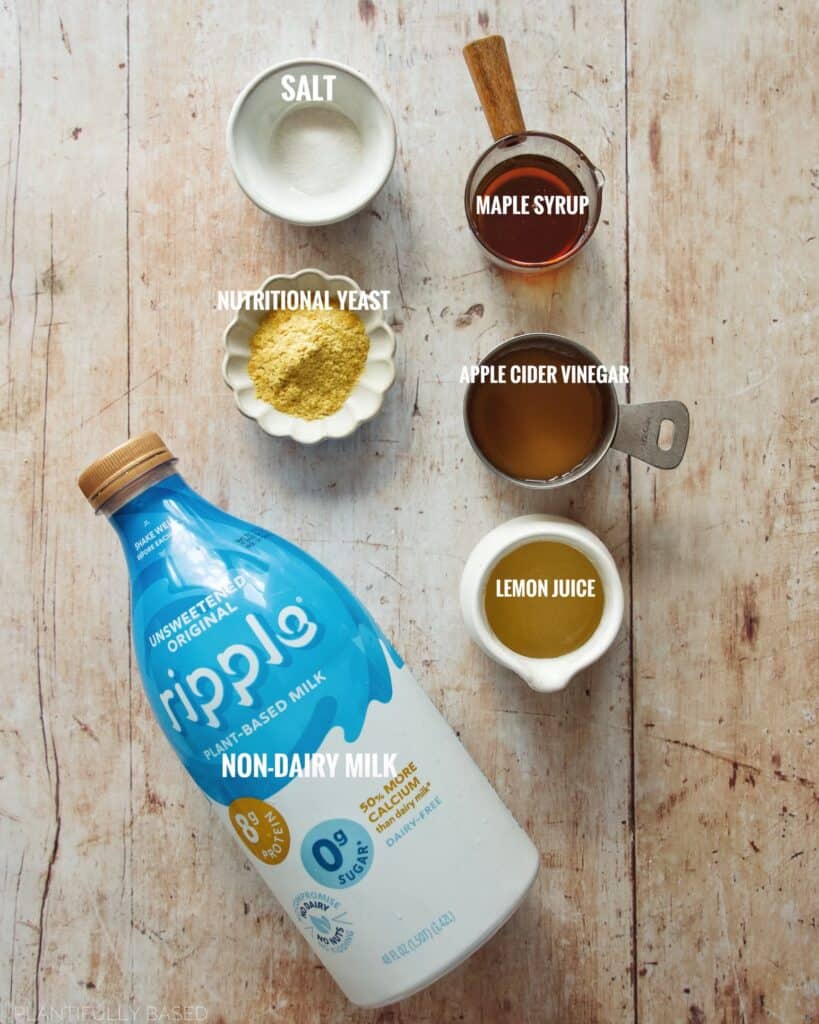
the ingredients
- Ripple Pea Protein Milk or High Protein Non-Dairy Milk: I always opt for Ripple because I like it but you can of course use soy milk and there are other high protein non-dairy milks out there now. You need it to be higher in protein so it creates nice big curds and a lot of them. At least 7g plant protein per serving.
- Lemon Juice and Apple Cider Vinegar: the acid helps to create the curds. You can also just use all lemon juice.
- Salt: to add a touch of saltiness.
- Nutritional Yeast: just a small touch to add in some extra cheesiness, you can leave it out if you like.
- Grade-A Maple Syrup: will add the maple flavor and sweetness.
- Optional: for a little more flavor I also added in some vanilla extract and ground cinnamon.
how to start making the maple cream cheese
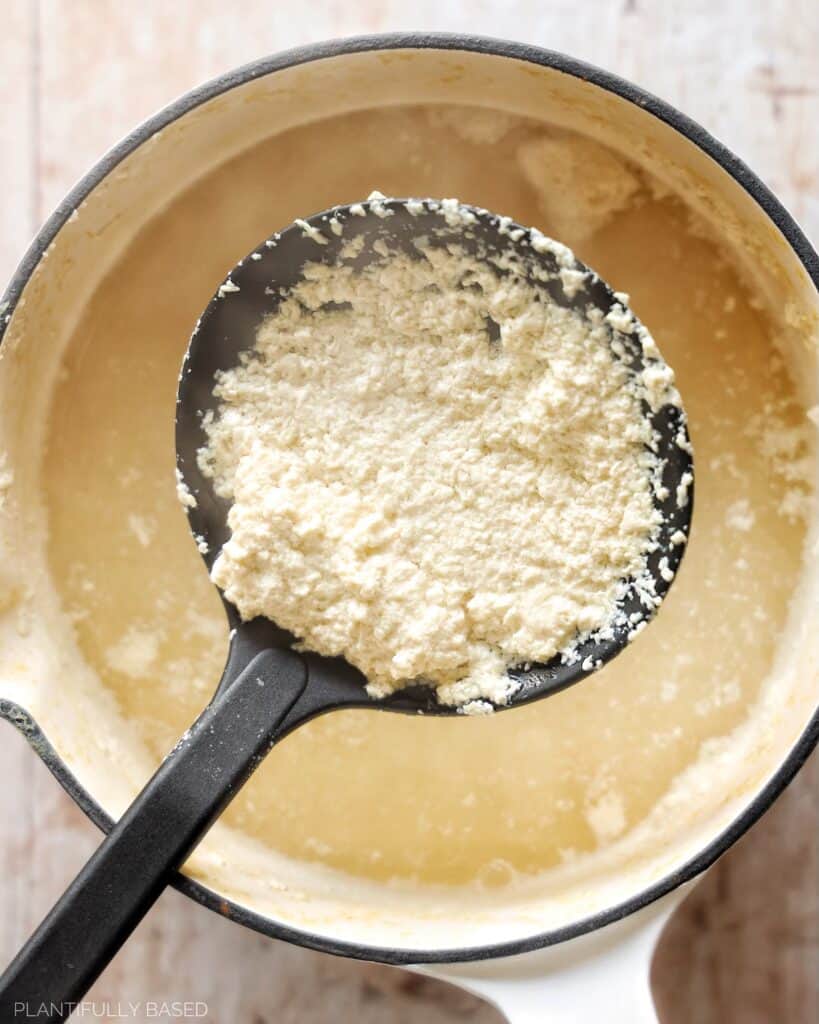
The first step for making this is to make vegan curds and whey. Don’t worry this is much easier than you would expect! Start by adding the non-dairy milk into a pot along with the apple cider vinegar and lemon juice. You will then bring it over to your stove and let it come to a boil. Cook it for about 10 minutes and you will see the curds developing.
separating the curds and whey
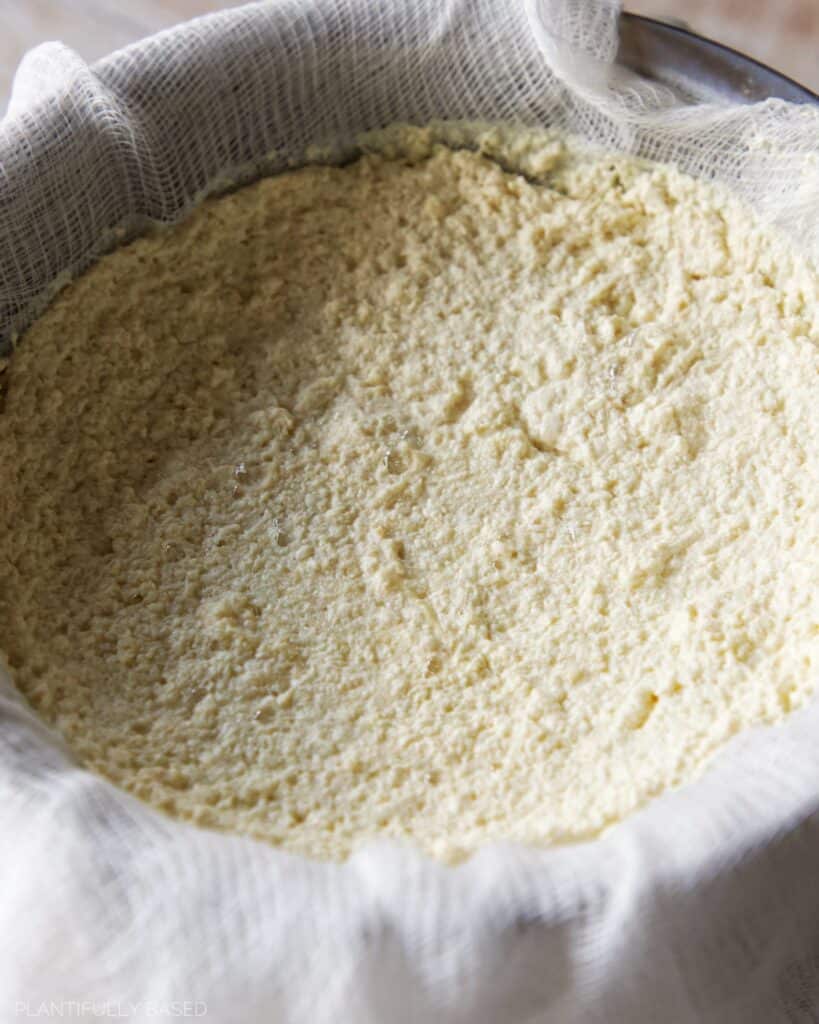
Now that you have these awesome curds that have formed the next step will be separating the curds from the whey. The curds are the harder more formed bits and the whey is the liquid. All you need to do is take a big bowl, a sieve, and cheese cloth. Carefully, after letting the non-dairy milk cool, pour it on top of the cheese cloth. Leave it alone for at least 10 minutes but up to 30 minutes to let the whey drain out. Once it is cool enough you will then squeeze the curds to remove as much whey as you can.
what can I do with the leftover whey?
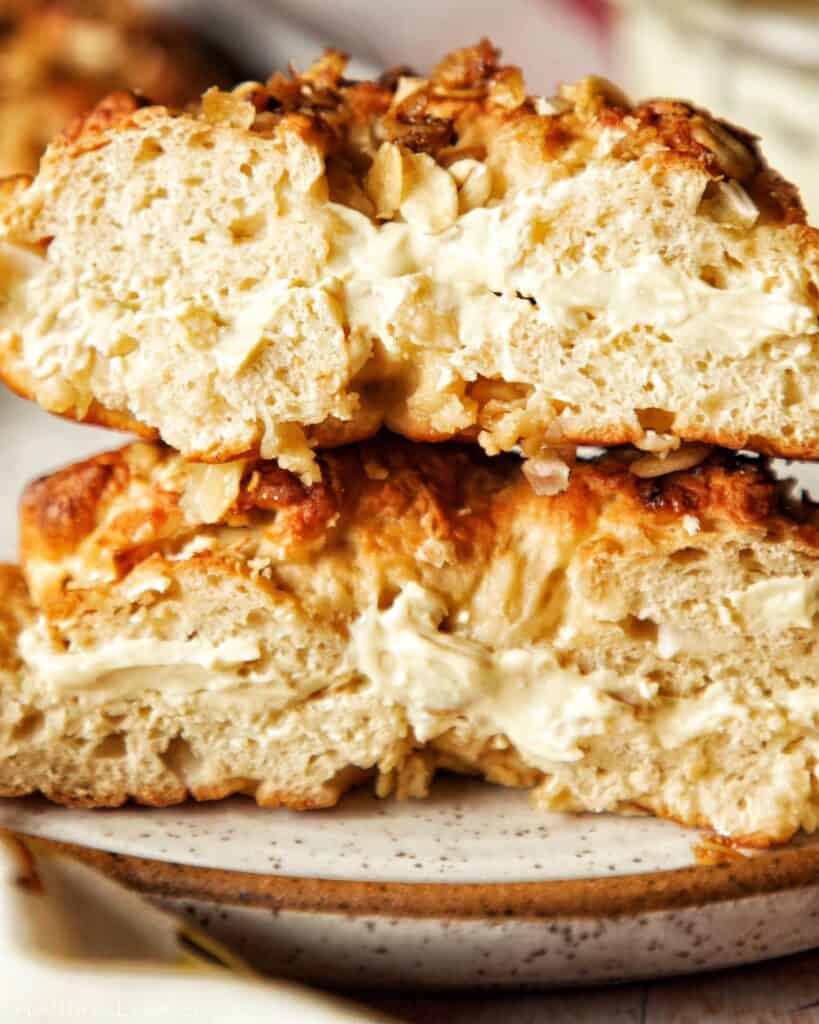
You will be left with a decent amount of leftover whey and of course we don’t want that to go to waste. There are many ways to use the leftover whey. We will need a little bit for blending the vegan cream cheese up. I used it in my High Protein Apple Crisp Bagels so it is great for making any type of bread. Then, I decided to use the remaining amount in a soup! So you can use it for: bread making, soups, in smoothies, in baking or really anywhere you need a liquid. You can also freeze it and save it for later uses. Keep in mind it does have a bit of an acidic taste due to the lemon juice and apple cider vinegar.
blending the maple cream cheese
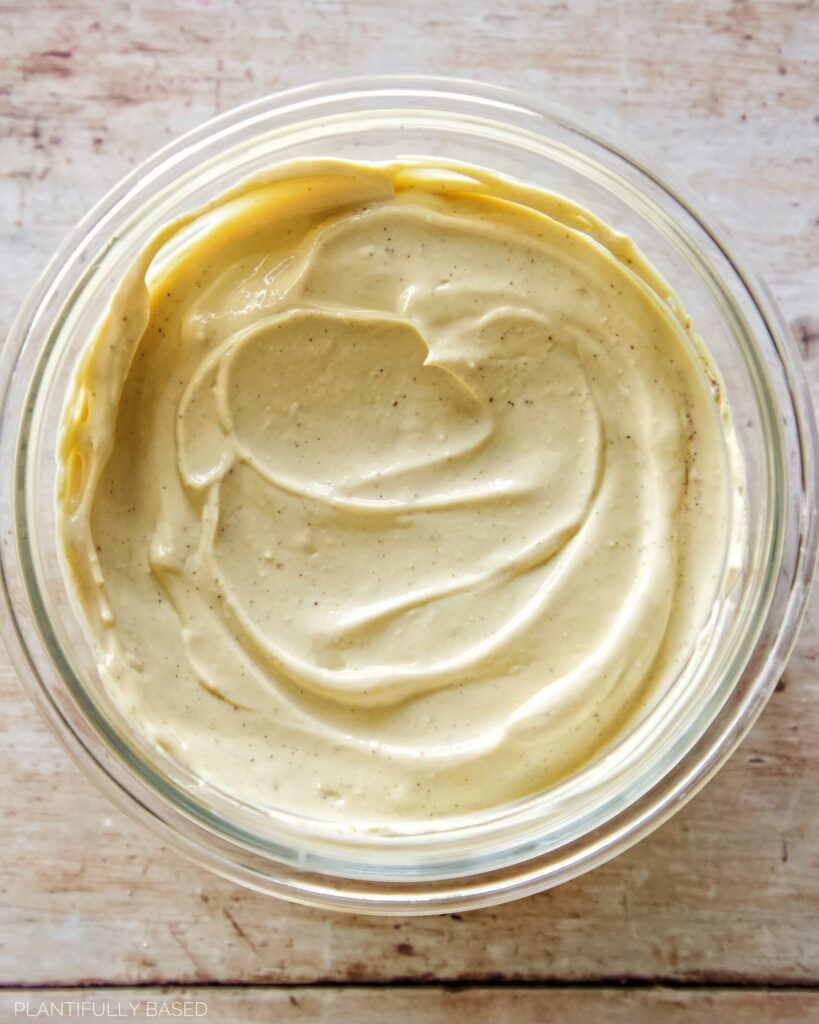
To blend the maple cream cheese you will need to transfer the curds into a blender. Add in the salt, nutritional yeast, and maple syrup. I like to use 1 to 2 tablespoons of the whey or more as needed to get the texture right and make sure it is creamy. After blending I mixed in the vanilla extract and ground cinnamon for some additional flavor. Then, you will transfer this into a container.
chilling the maple cream cheese
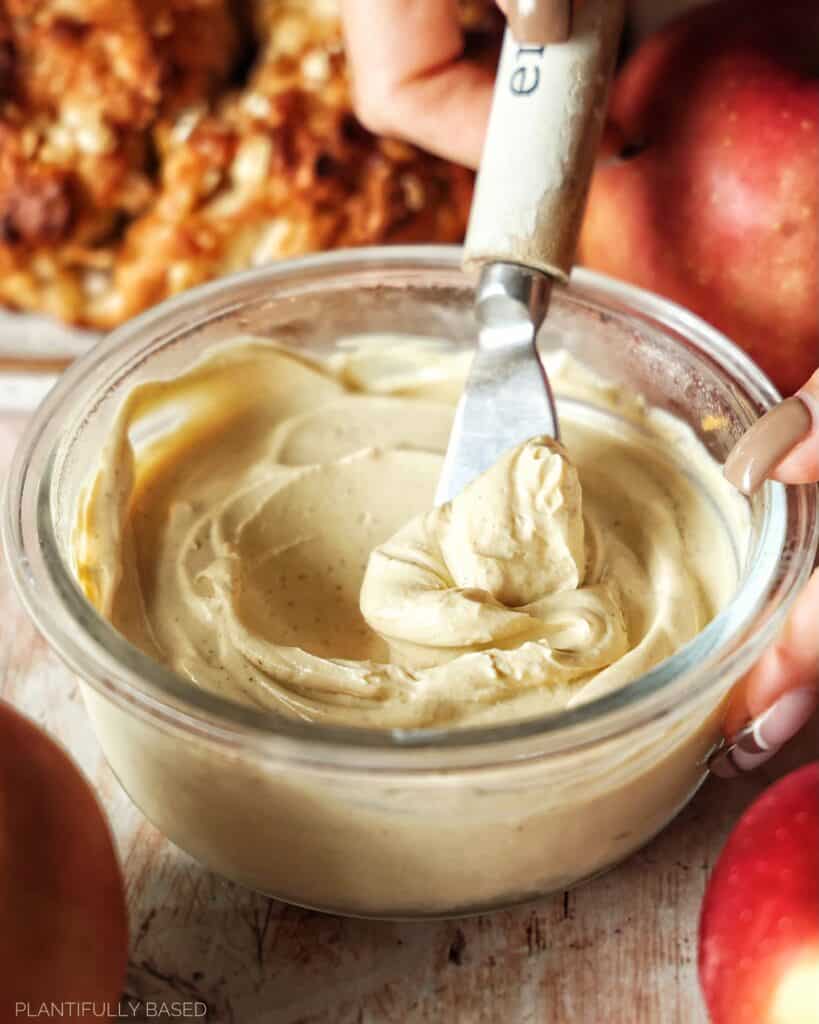
I find it best to chill the maple cream cheese before you enjoy it. However, if you want to eat it right away you can but it will thicken as it chills. I find after first blending it the texture almost reminds of vegan mayo but as it chills and thickens it turns into that beautiful vegan cream cheese texture we are looking for.
ways to use this maple cream cheese
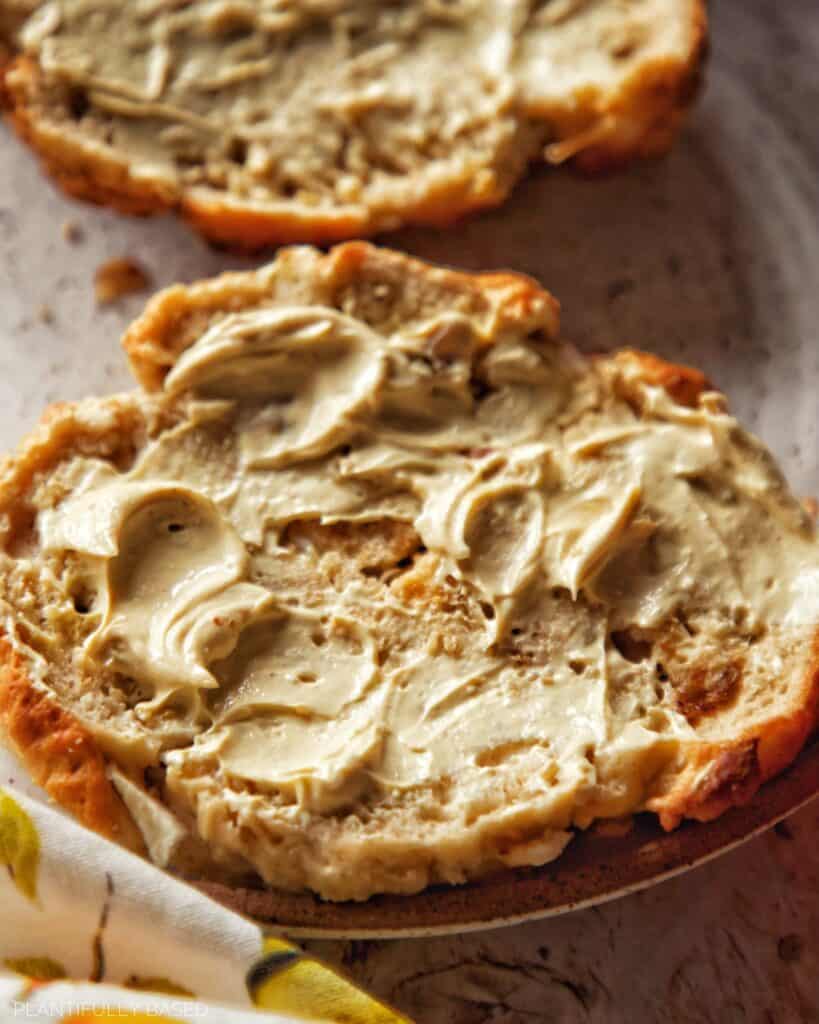
Of course the main way to use this would be on a bagel or toast. However, because it is already lightly sweetened and so delicious it is also great for using in a frosting. I mixed some with organic powdered sugar and used it on a little high protein cake I had made it and it came out delicious. So, get creative with this and don’t be afraid to find interesting and fun ways to use this recipe. It could even be fun to make a vegan cheesecake with!
more homemade vegan dairy recipes
maple cream cheese faq
- Is this recipe soy free? Yes.
- Is this recipe nut free? Yes.
- Is this recipe gluten free? Yes.
- What non-dairy milk are you using? Ripple pea protein milk. You can use any high protein milk as long as it has at least 7g plant protein per serving.
- How long does this keep in the fridge? For up to 4 days in a sealed container.
ORDER MY COOKBOOK
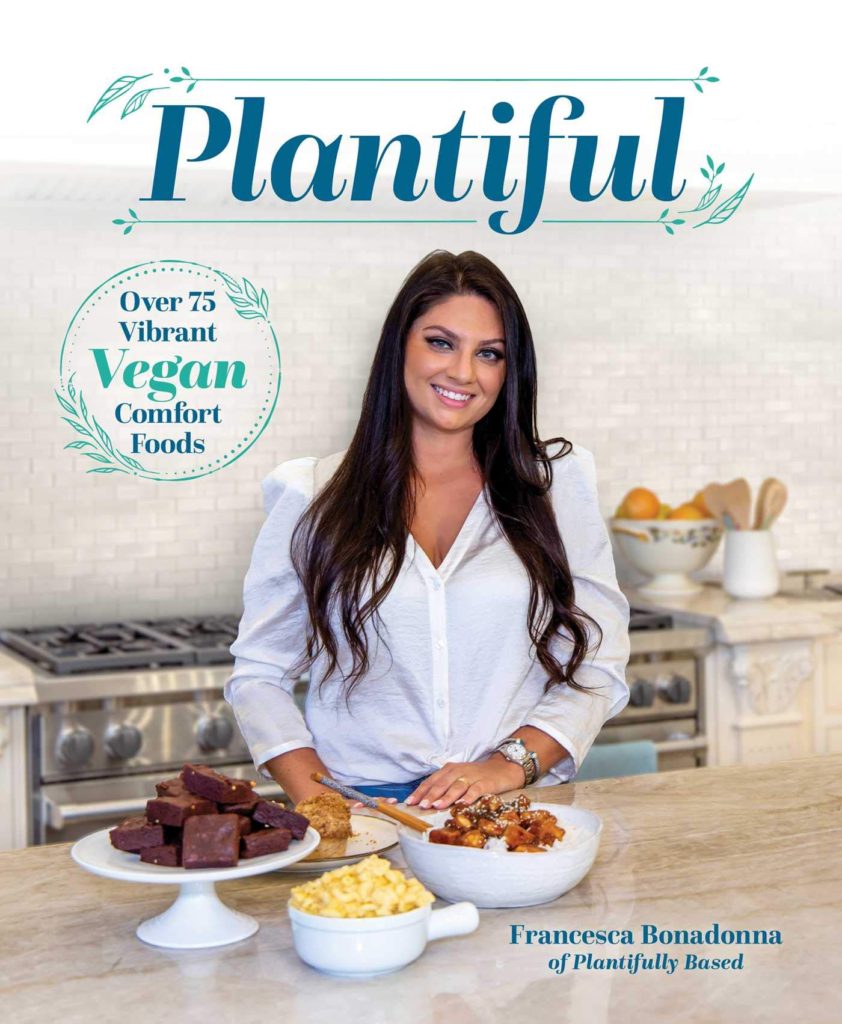
Looking for more delicious vegan comfort recipes? Order my cookbook Plantiful: Over 75 Vibrant Vegan Comfort Foods! Filled with all types of recipe from bites, breakfast, brunch, lunch, dinner, desserts and more! Available on Barnes and Noble, Amazon, IndieBound, Walmart, also available in stores.
Sharing direct links to recipes and pictures is highly encouraged, please do not copy and paste my recipes or share my pictures without permission. I work very hard on my blog and don’t want to see my recipes popping up anywhere. Thank you so much.
Vegan Maple Cream Cheese
Equipment
- Cheesecloth
Ingredients
- 4 cups pea protein milk, unsweetened see note about milk choice
- ¼ cup lemon juice
- 2 tablespoons apple cider vinegar
- ½ teaspoon salt
- 1 teaspoon nutritional yeast
- 3 tablespoons grade-A maple syrup
- Optional: 1 teaspoon vanilla extract and ½ teaspoon ground cinnamon
Instructions
- In a pot add the non-dairy milk and lemon juice. Bring to a low boil on the stove and then cook for 10 minutes over medium heat. This helps the non-dairy milk to curdle.
- Place a large piece of cheesecloth over a sieve or strainer and then place in a pot to catch the liquid. Pour the curdled non-dairy milk carefully into the cheesecloth or scoop it in. Allow it to sit for at least 10 minutes (or up to 30 minutes). This will get a lot of the liquid out. Then once it is cool enough to handle use your hands to squeeze out more excess liquid.
- 3, Transfer the curds into a blender with the salt, maple syrup, and nutritional yeast. Blend for about 1 to 2 minutes until it is smooth and creamy. You may need to add in some additional liquid as it blends and you can use the liquid that drained from the curd. Adding in small spoonfuls as the blender needs about 1 to 2 teaspoons at a time.
- Transfer the vegan cream cheese into a container. If you are using the optional vanilla and ground cinnamon you can add it in and mix together with a spoon. Chill for at least an hour or until ready to enjoy.
Video
Notes
- Total recipe weight is 8 ounces (227g)
- In order to make this recipe work you must use a high protein milk at least 7g plant protein per serving. Please read the blog post for more information if you have other questions.
- Nutrition facts are based on my gram measurements put into Cronometer. Yours may vary, they are to help you get an idea.
Nutrition
Plantifully Based® is part of the Amazon Affiliate Partner Program. Links on here may be from Amazon or other affiliate programs. If you decide to purchase through a link I will receive a small commission. This helps to run the blog and make more recipes.
Did you try this recipe? Tag me on Instagram @plantifullybased to let me know how it went. If you enjoyed this recipe please be sure to leave a comment or review, it is so helpful for the blog. Thank you!


Looks delicious but looking for the note on plant milk choice
Hi Cherri, my apologies I will fix that it should simply just state “In order to make this recipe work you must use a high protein milk at least 7g plant protein per serving. Please read the blog post for more information if you have other questions.” the whole blog post covers everything very in depth it was just a quick note to encourage people to read the blog post.
Hello looks amazing do you know how long it will stay good in the refrigerator? Thank you
Hi Wendy! I always cover questions like this in the FAQ section of the blog post right above before the recipe! “How long does this keep in the fridge? For up to 4 days in a sealed container.” hope you enjoy and thank you so much!
Lovely, easy to follow recipe. Thank you
thank you so much Jackson! I am so glad you like it and thank you for taking the time to leave a comment/review!