this vegan veggie cream cheese is so easy to make, delicious with bagels, and you are sure to love it! making homemade vegan cream cheese is easier than you think.

the inspiration
Last year I create two vegan cream cheese recipes: plain vegan cream cheese and maple vegan cream cheese. I love making homemade vegan cream cheese as it is fun to customize and so delicious! Plus it pairs well with my protein bagels I have almost every morning.
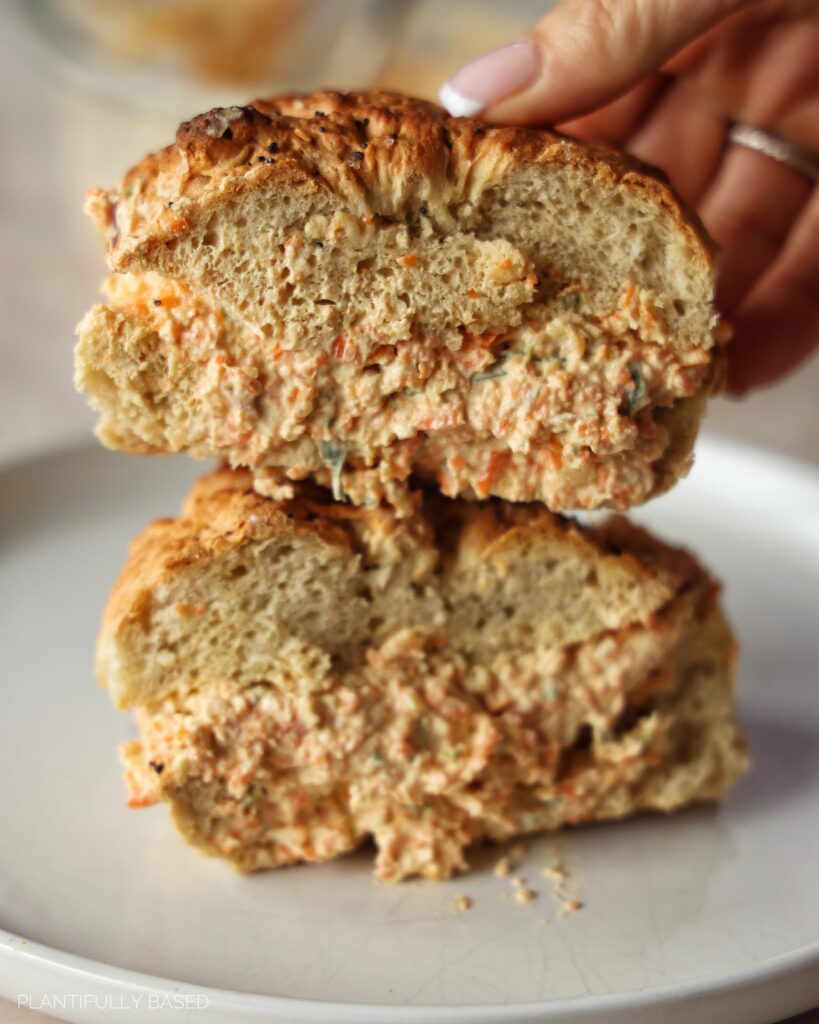
To add to the collection I wanted to do a vegan veggie cream cheese. Before I went vegan my favorite was getting a bagel with veggie cream cheese! This vegan veggie cream cheese reminds me just of that with all the textures and flavors from the delicious veggies.
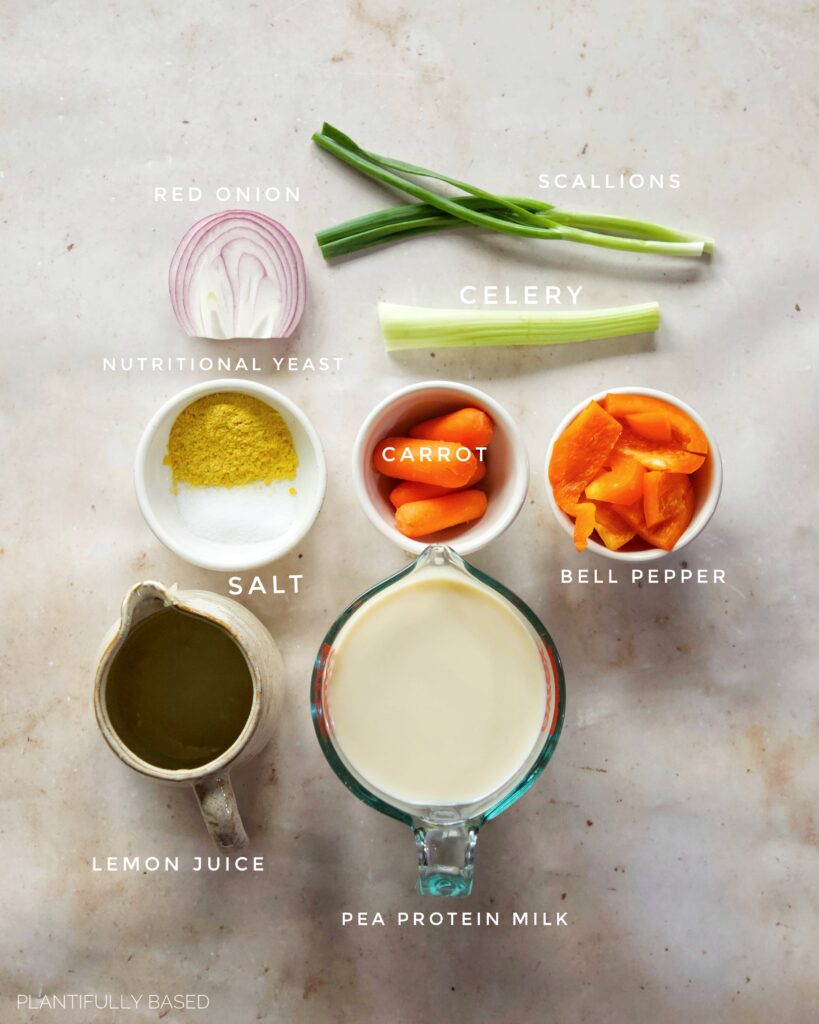
the ingredients
- Ripple Pea Protein Milk or High Protein Non-Dairy Milk: I always opt for Ripple because I like it but you can of course use soy milk and there are other high protein non-dairy milks out there now. You need it to be higher in protein so it creates nice big curds and a lot of them. At least 7g plant protein per serving.
- Lemon Juice: the acid helps to create the curds.
- Salt: to make it salty.
- Nutritional Yeast: just a small touch to add in some extra cheesiness, you can leave it out if you like. You can sub in a bit of miso paste.
- Red Onion: the red onion adds a nice pop of color and taste.
- Carrots: the carrots add some crunch and bright color.
- Celery: the celery is fun to add in because it fades into the background a bit but if you didn’t add it you will feel like something is missing.
- Bell Pepper: similar to the carrot adds nice crunch and some sweetness.
- Green Onion: I love the taste of scallions, it adds a brightness to the vegan veggie cream cheese.
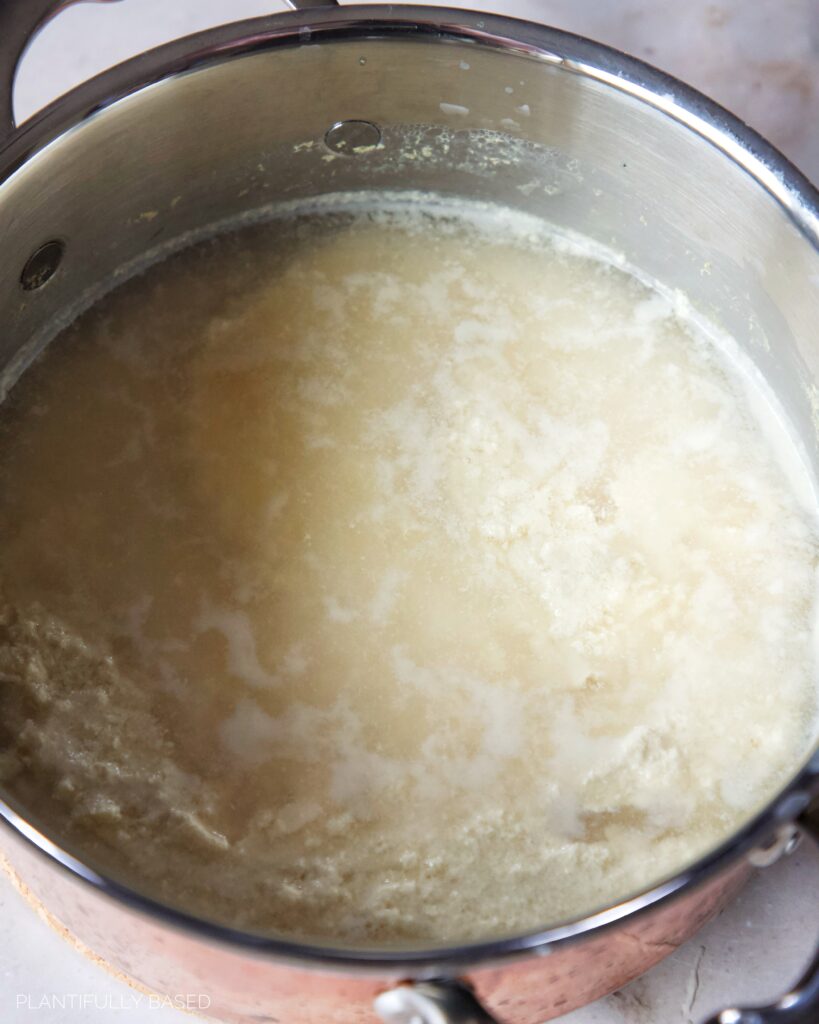
what is vegan curd?
I never really knew what curds and whey were. Of course, I knew the nursery rhyme about little Miss Muffet when I was younger but that didn’t mean much to me.
So, the curd is the solidified part that milk leaves behind while whey is the liquid. When using higher protein non-dairy milks we are also able to create a vegan curd and vegan whey. This curd is so important for making the vegan cream cheese.
It is important to also use an unflavored and unsweetened non-dairy milk. I personally find soy milk to be a little sweet naturally so I opt to not to use it BUT if you like it then use it!
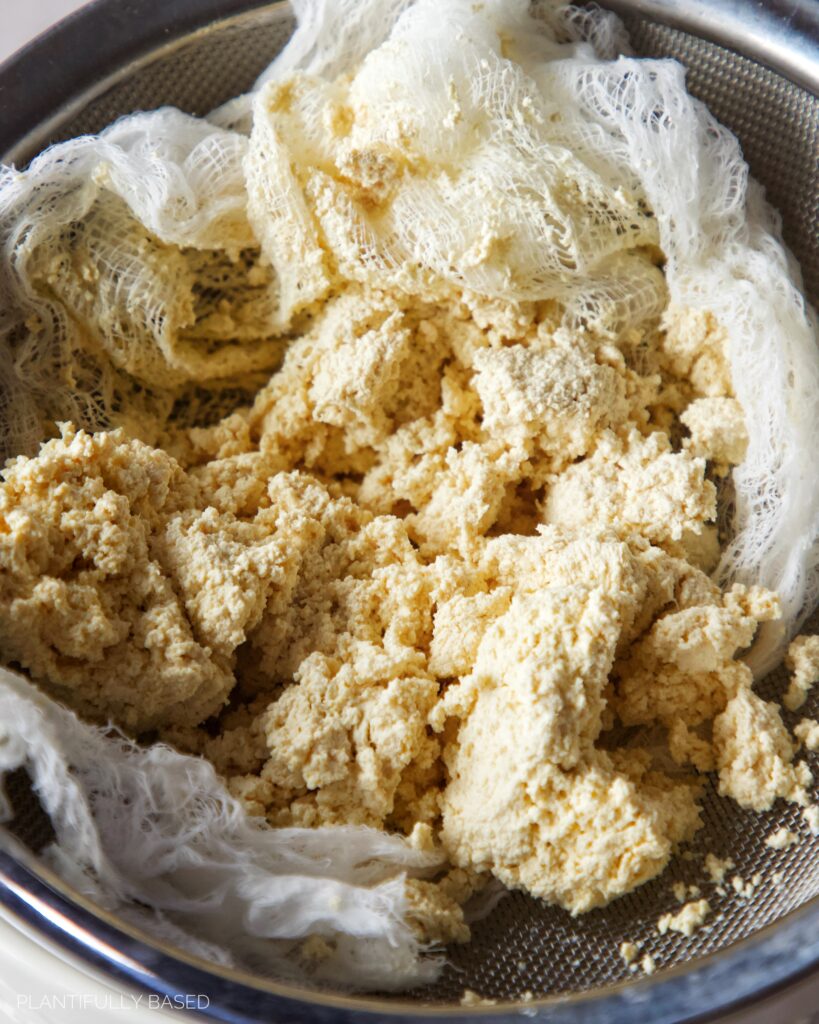
how do we make the vegan curds and whey?
First, you will boil the non-dairy milk on the stove with lemon juice. You need an acid to help the non-dairy milk curdle.
After you boil the non-dairy milk on the stove and the curds and whey form you will be left with a mixture in your pot of some solidified parts in liquid. To separate them, you scoop the curds and whey into cheesecloth that is sitting on a strainer and a bowl.
Then let it sit for about 10 minutes or up to a half hour, depending on how much time you have. Once it is cool enough to handle you will carefully squeeze with your hands any excess liquid out and then you will be left with a bunch of the curd. It really is that simple!
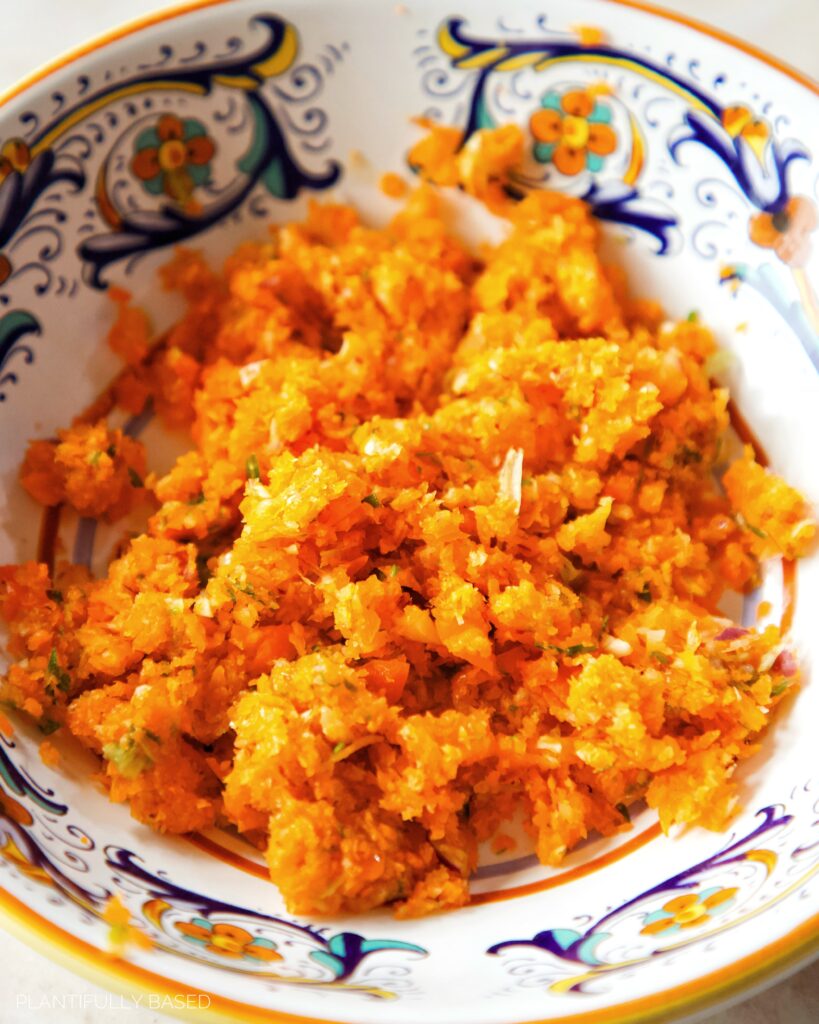
preparing the veggies
When it comes to making a vegan veggie cream cheese, you can add in whatever vegetables you like. However, a standard veggie cream cheese usually contains celery, carrots, red onion, and bell pepper.
To keep it very easy I just like to put all the vegetables into a food processor. This makes no chopping required. However, if you want to chop it by hand you definitely can.
After the vegetables have been chopped up it is important to squeeze the water out of it. This will ensure that the vegan veggie cream cheese stays thick and not watery. So, I just take a paper towel line it at the bottom of bowl, pour the veggies in, and then another paper towel on top. I let it sit for a few minutes and then squeeze the rest of the water out.
blending the curds
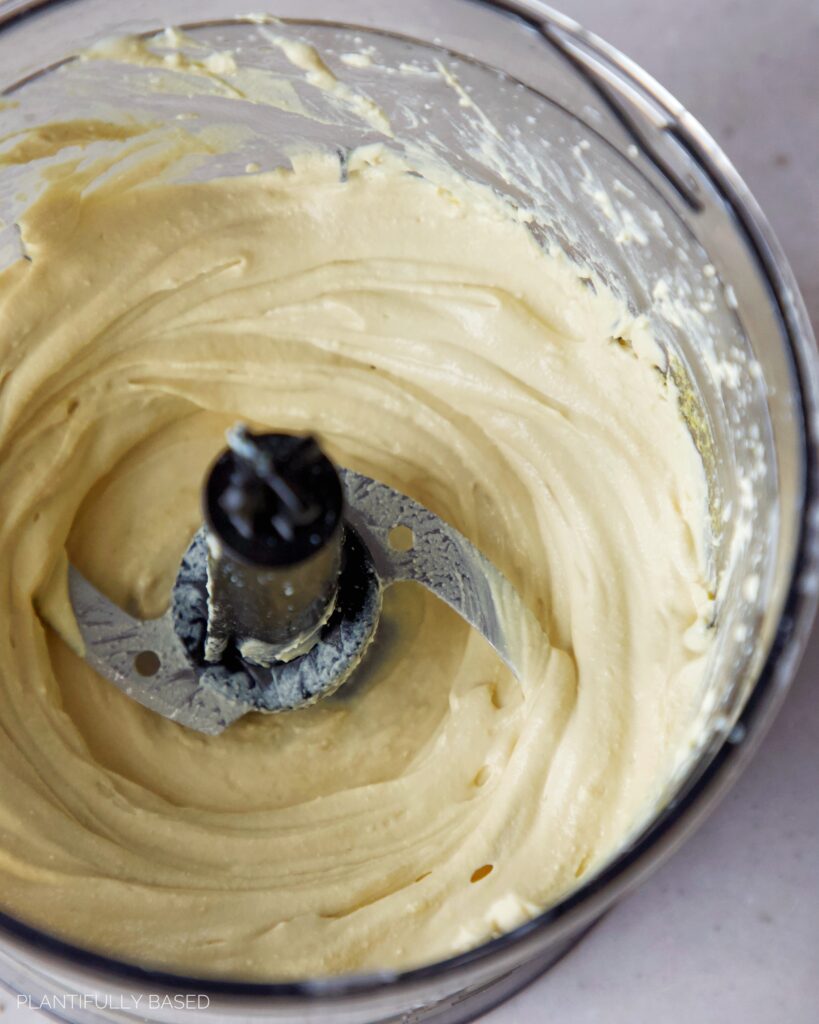
Once you’ve got your curds separated and cooled it is time to blend them. Since I already have the food processor out I just do it all in the food processor. However, you can also do it in a blender.
Add the curds into the clean food processor along with the nutritional yeast, salt, and a few spoonfuls of the vegan whey. Then just blend it up until it gets nice and creamy! So easy and delicious.
WAYS TO USE LEFTOVER WHEY
Don’t get rid of the leftover whey. Use it in breads, soups, marinades or even salad dressing!

finishing up the vegan veggie cream cheese
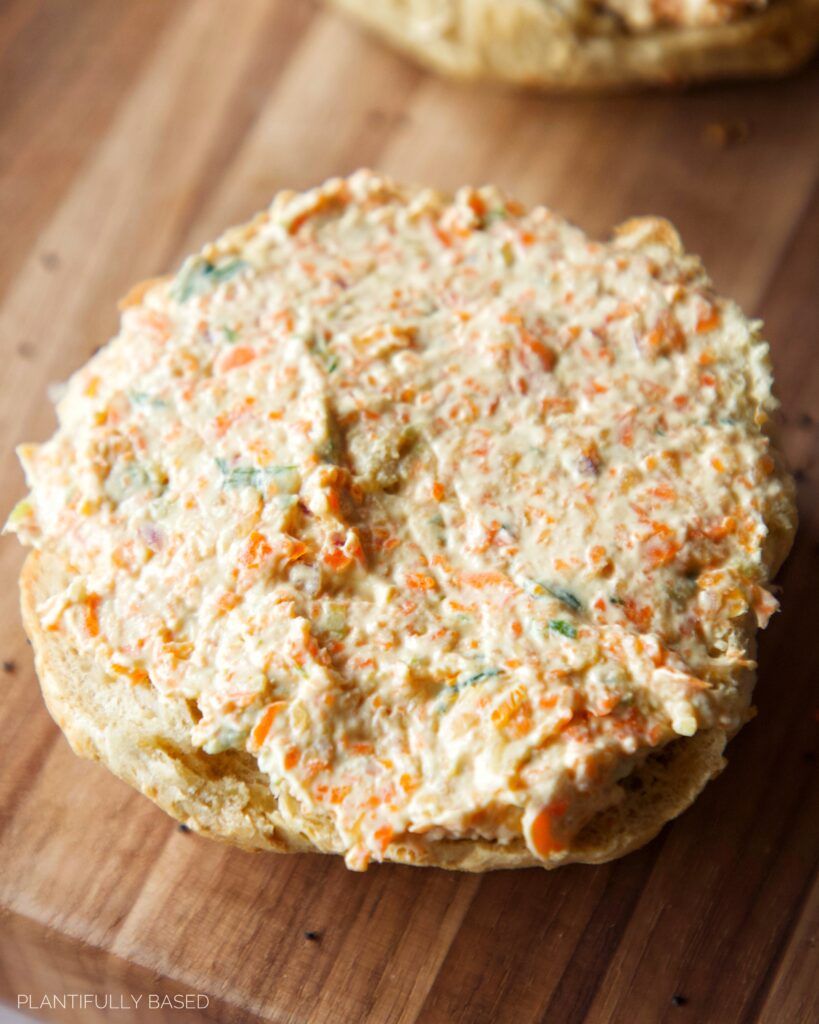
Now, that you have blended up your curds and the veggies have been squeeze out of liquid you can combine the two! Just add the vegan cream cheese into a container, then add in the veggies, and mix.
You can enjoy this vegan veggie cream cheese right away or let it chill in the fridge for a bit beforehand. I personally like to give it a half hour before eating just so it is cold. Chilling also helps to thicken it a bit.
more vegan cheese recipes
vegan cream cheese faq
- Is this recipe soy free? Yes.
- Is this recipe nut free? Yes.
- Is this recipe gluten free? Yes.
- Can I use a different non-dairy milk besides pea protein milk? As long as you use a high protein milk with at least 7g plant protein per serving it should work fine.
- How long does this keep in the fridge? For up to 4 days in a sealed container.
- What can I do with the leftover liquid from the curds? You can use it to bake bread, you can try using some in a smoothie (it may be too acidic), add to soups or stews, you can even freeze it in cubes and then use it later!
ORDER MY COOKBOOK
Looking for more delicious vegan comfort recipes? Order my cookbook Plantiful: Over 75 Vibrant Vegan Comfort Foods! Filled with all types of recipe from bites, breakfast, brunch, lunch, dinner, desserts and more! Available on Barnes and Noble, Amazon, IndieBound, Walmart, also available in stores.
Sharing direct links to recipes and pictures is highly encouraged, please do not copy and paste my recipes or share my pictures without permission. I work very hard on my blog and don’t want to see my recipes popping up anywhere. Thank you so much.
Vegan Veggie Cream Cheese
Equipment
Ingredients
- 3 cups pea protein milk
- ¼ cup lemon juice, I prefer fresh lemon juice
- 1 teaspoon salt
- 1 tablespoon nutritional yeast
- ¼ (30g) red onion
- 4 (50g) baby carrots or 1 small carrot
- ½ (80g) bell pepper
- 1 to 2 (10g) scallions
Instructions
- In a pot add the non-dairy milk and lemon juice. Cook on the stove for 10 minutes over medium heat, this helps the non-dairy milk to curdle.
- Meanwhile, in a food processor pulse the vegetables until they are finely chopped and small. I like to add a paper towel to the bottom of a bowl. Then place the vegetables in it and top with another paper towel. Let it sit for a few minutes and then squeeze out the excess liquid.
- Place a large piece of cheesecloth over a sieve or strainer and then place in a pot to catch the liquid. Pour the curdled non-dairy milk carefully into the cheesecloth or scoop it in. Allow it to sit for at least 10 minutes (or up to 30 minutes). This will get a lot of the liquid out. Then once it is cool enough to handle use your hands to squeeze out more excess liquid.
- Transfer the curds into a food processor or blender with the salt and nutritional yeast. Blend for about 1 to 2 minutes until it is smooth and creamy. You may need to add in some additional liquid as it blends and you can use the liquid that drained from the curd (essentially a vegan whey). Adding in small spoonfuls as the blender needs about 1 to 2 teaspoons at a time. Taste the vegan cream cheese and add in more salt if you desire.
- Then mix the veggies and the vegan cream cheese together in a container. You can enjoy right away or place it in the fridge for at least a half hour to chill.
Notes
- Nutrition facts are based on my gram measurements put into Cronometer. Yours may vary, they are to help you get an idea.
- Please do not repost recipes without my permission. Sharing a direct link is always highly encouraged and appreciated.
- I am using Ripple pea protein milk. If you decide to use another plant milk it must be high protein and at least 7g protein per serving to curdle properly.
- I am using fresh lemon juice. You will need about 3 lemons.
- The bagel in the pictures is my protein bagel.



Leave a Reply