A fun take on mac and cheese deep fried mac and cheese bites! Instead of balls, I decided to form them into sticks and air fried rather than deep fried. These are full of great flavor and the perfect combination of creaminess and crunchiness.
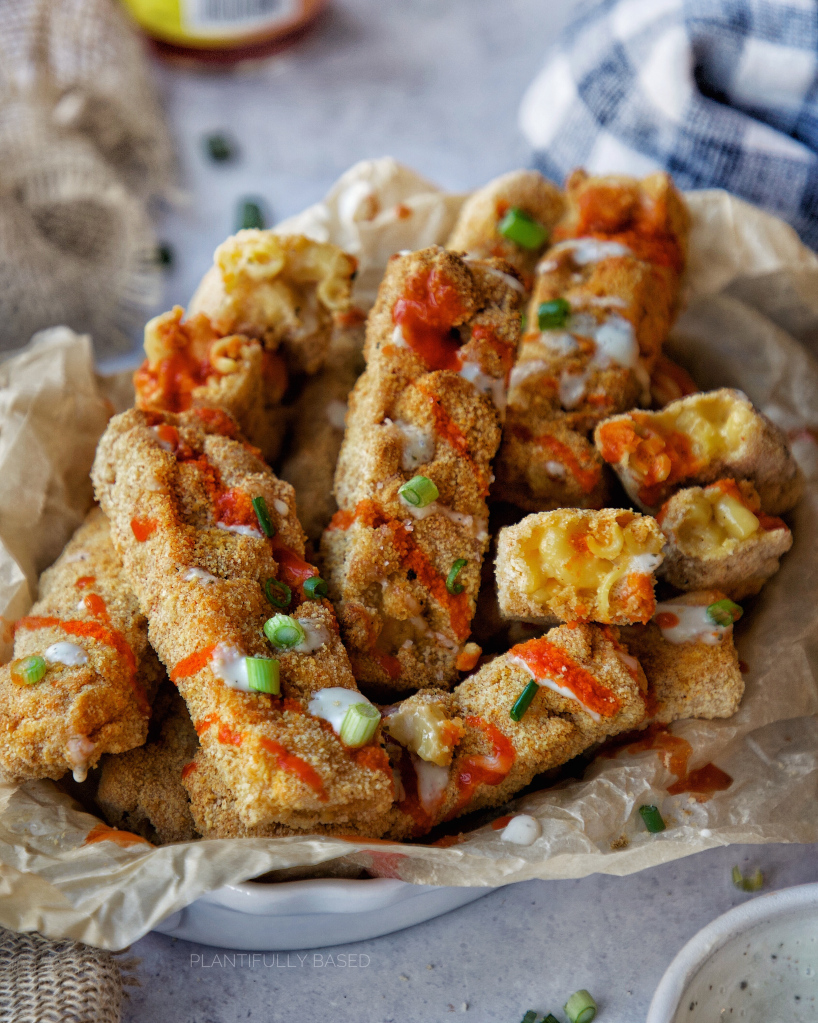
Who doesn’t love mac and cheese? I could eat it pretty much everyday and I could definitely eat these mac and cheese sticks everyday. I had wanted to make air fried mac and cheese balls for a while and then I thought sticks would be so much more fun. They are great for dipping, perfect for picking up and in my opinion much easier than going through the hassle of forming balls. These are not very hard to make but they are a bit time consuming as there is time in the freezer involved. So do be sure to keep that in mind when planning to make these.
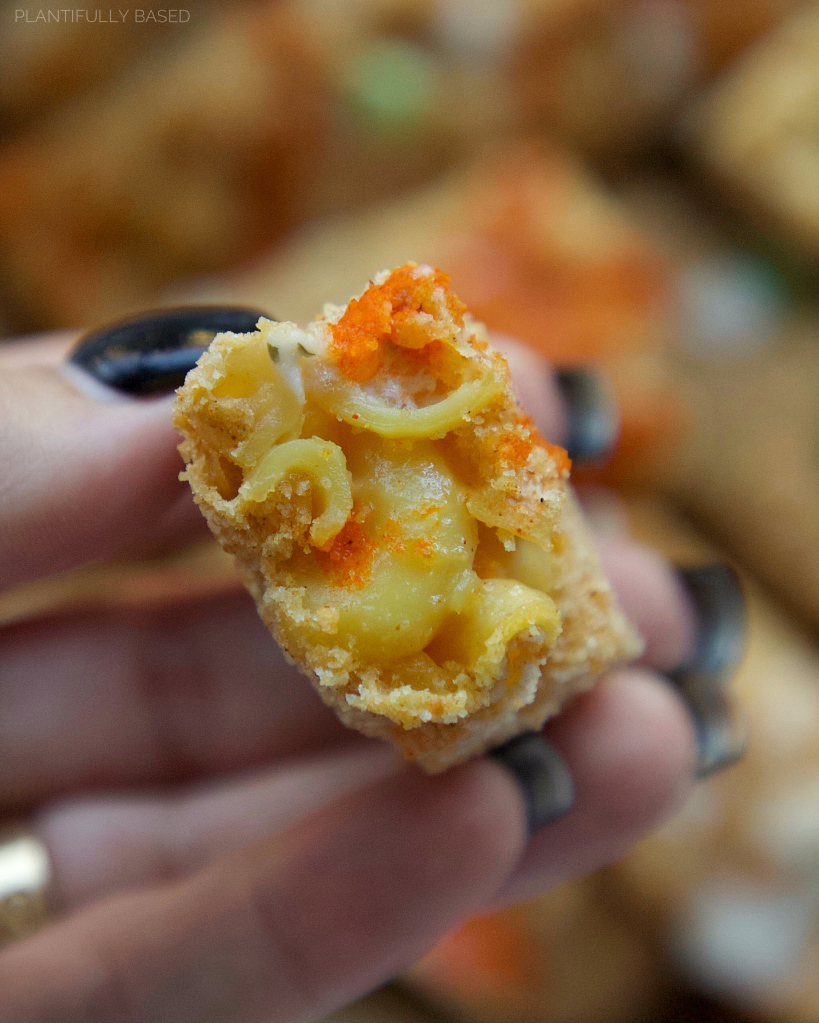
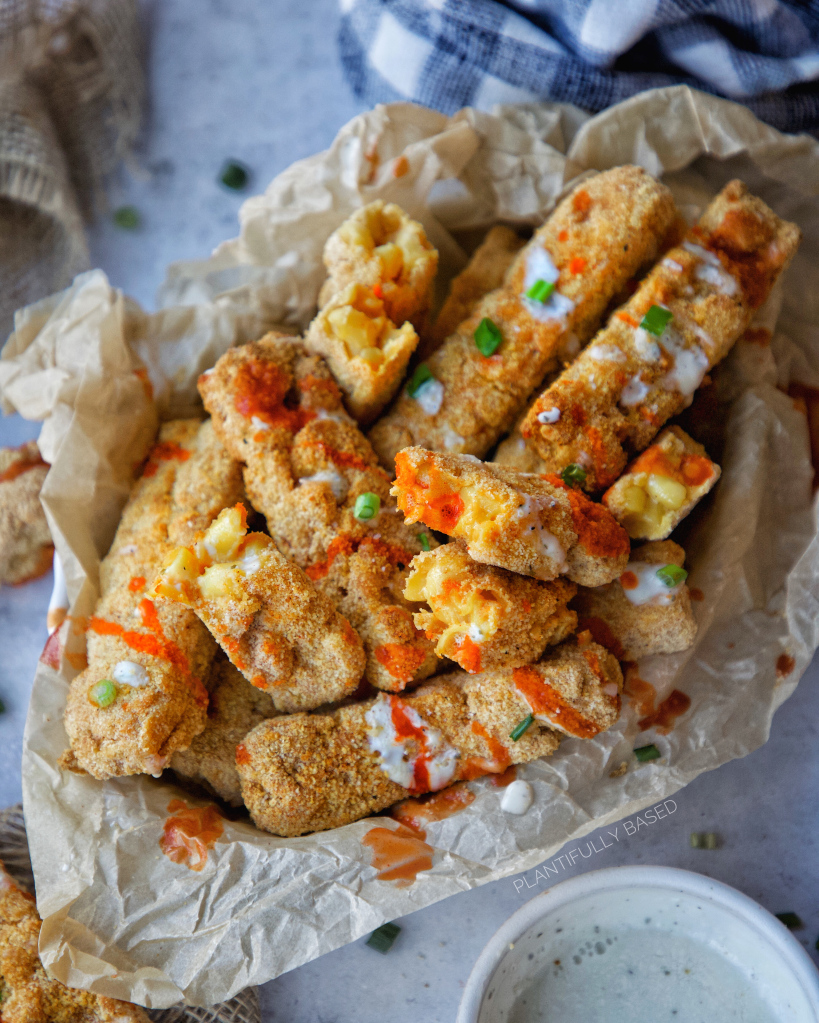
Dipping Sauces
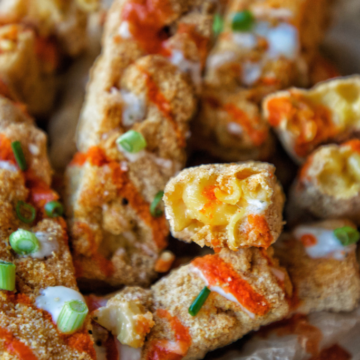
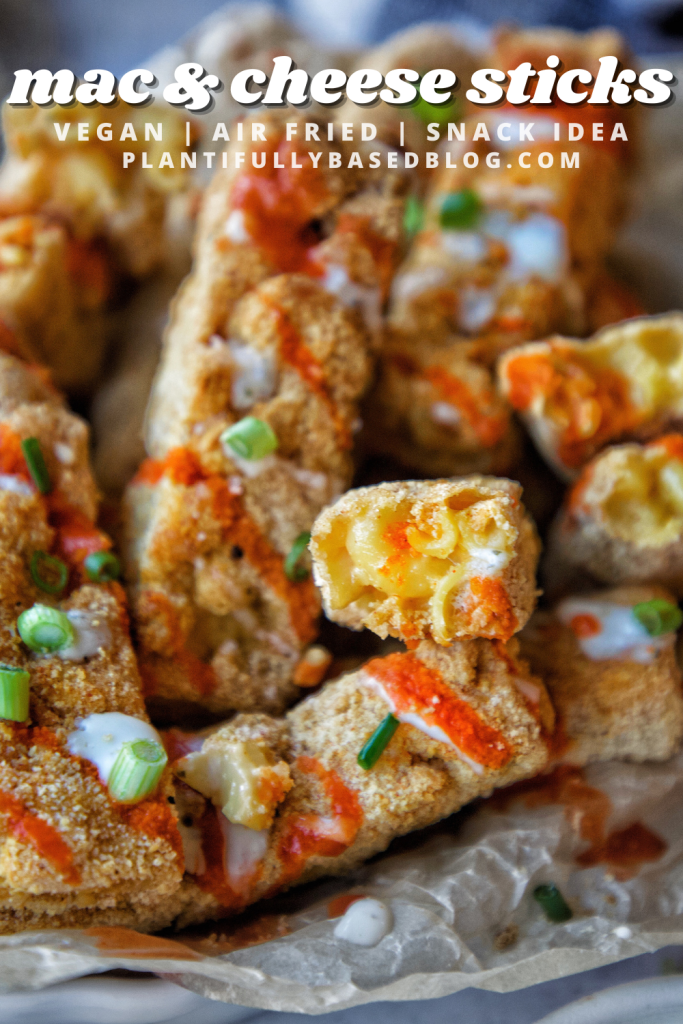
I think these would make the perfect Super Bowl snack if you plan on watching the game! Then, I topped them with buffalo sauce and vegan ranch but you can put them with ketchup, marinara sauce, or even go crazy and make a cheese dip for it, like this jalapeño queso.
Vegan Cheeses
I wanted to keep this a bit easier and used store bought vegan cheeses but if you feel like making homemade you can use this homemade vegan cheddar recipe from last week, it would be great in here! You can use any nondairy milk you like just be sure that is unsweetened and unflavored. I went with chickpea pasta for this recipe but again use any pasta you like. However, I do think elbows or a small macaroni work best here so the pasta isn’t too large.
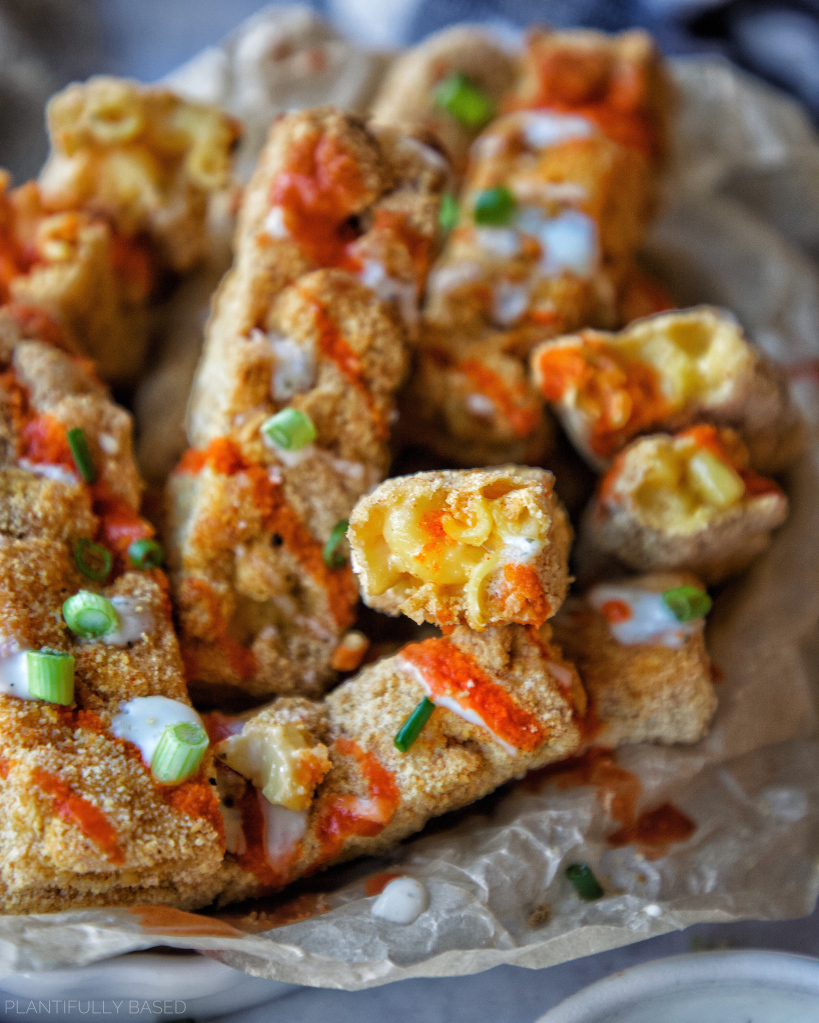
Air Frying and Other Cooking Methods
I love air frying. I am completely obsessed. As much as I love deep fried foods, don’t get me wrong I don’t always feel like putting up a pot with oil. While air frying isn’t entirely like deep frying it definitely gets you pretty close! You can bake these and these should work being deep fried (although fair warning I didn’t test that, and I would recommend freezing up to two hours once breaded). If you want to bake these I would bake them at 400°F (204°C) for about 20-25 minutes flipping halfway through. I prefer to use chickpea flour for my batter before dipping in the breadcrumbs but you can use all purpose flour or even corn starch as well.
Mac and Cheese Sticks
Equipment
Ingredients
Macaroni and Cheese
- 6 ounces cooked pasta of choice (170g)
- ½ cup vegan cheddar cheese shreds (56g)
- ¼ cup vegan mozzarella shreds (28g)
- ½ cup nondairy milk unsweetened and unflavored (120ml)
- 2 tablespoons vegan sour cream
- ½ tablespoon nutritional yeast
- ¼ teaspoon paprika
- Salt and pepper to taste
Chickpea Wash
- ½ cup chickpea flour (60g)
- ½ cup water (120ml)
Breading
- 1 cup breadcrumbs (120g)
- ¼ teaspoon salt
- 1 teaspoon paprika
- ½ teaspoon garlic powder
- ¼ teaspoon black pepper
Instructions
- Cook the pasta to package directions. Drain the pasta. Then add all the macaroni and cheese ingredients and cook on the stove over medium heat for 5 minutes, or until everything is melted. Make sure to taste and adjust seasonings accordingly.
- Once it is melted spread out in a 9 by 9 inch lined baking pan. Use a spatula to spread it out into an even layer. Place in the freezer for at least 1 hour or until hardened.
- After 1 hour remove from the freezer and the parchment paper. Use a sharp knife to cut the block into 16 rectangles. I did this by first cutting it in quarters. Then cutting it down the center so there were 8 pieces. Then cutting each piece in half. Place back in the freezer for 15 minutes.
- Meanwhile, prepare the chickpea wash by whisking the ingredients together in a medium bowl. This should be large enough to dip the sticks in.
- On a flat dish or large bowl combine the breading ingredients.
- Take 4 of the sticks out of the freezer and start to bread then. First dip it in the chickpea wash, let any excess drip off. Then toss it in the breadcrumbs, make sure to coat it evenly and get it into any spaces between the macaroni. Then place back in the freezer. It is important to only do a few at a time as once they warm up they may break apart.
- Once they are all breaded place in the freezer again for at least 30 minutes or until you are ready to eat them. If keeping them in the freezer for days or until you feel like using them let them harden for 1 hour in the freezer, then place in a container or bag.
- Before air frying spray with a bit of cooking spray if you like to make them extra golden and crispy. Place in the air fryer tray so they are not touching, you may need to do this in batches. Air fry at 400°F (204°C). for 15 to 17 minutes or until crispy.
- Drizzle with your favorite sauce and green onion.
Video
Notes
- THESE CAN BE FROZEN UNTIL READY TO USE AND THEN FOLLOW ON WITH STEP 8
- LEFTOVERS WILL LAST IN THE FRIDGE FOR UP TO 2 DAYS OR FREEZE
SAVE TO PINTEREST


Leave a Reply